by Jen_F | Blog, Fabric, Jen_F, Our Art, Shari_T, Upcycled Projects
If you’ve read many of our posts, you probably know by now that even though we take our arts seriously, sometimes we just go wonky funny.
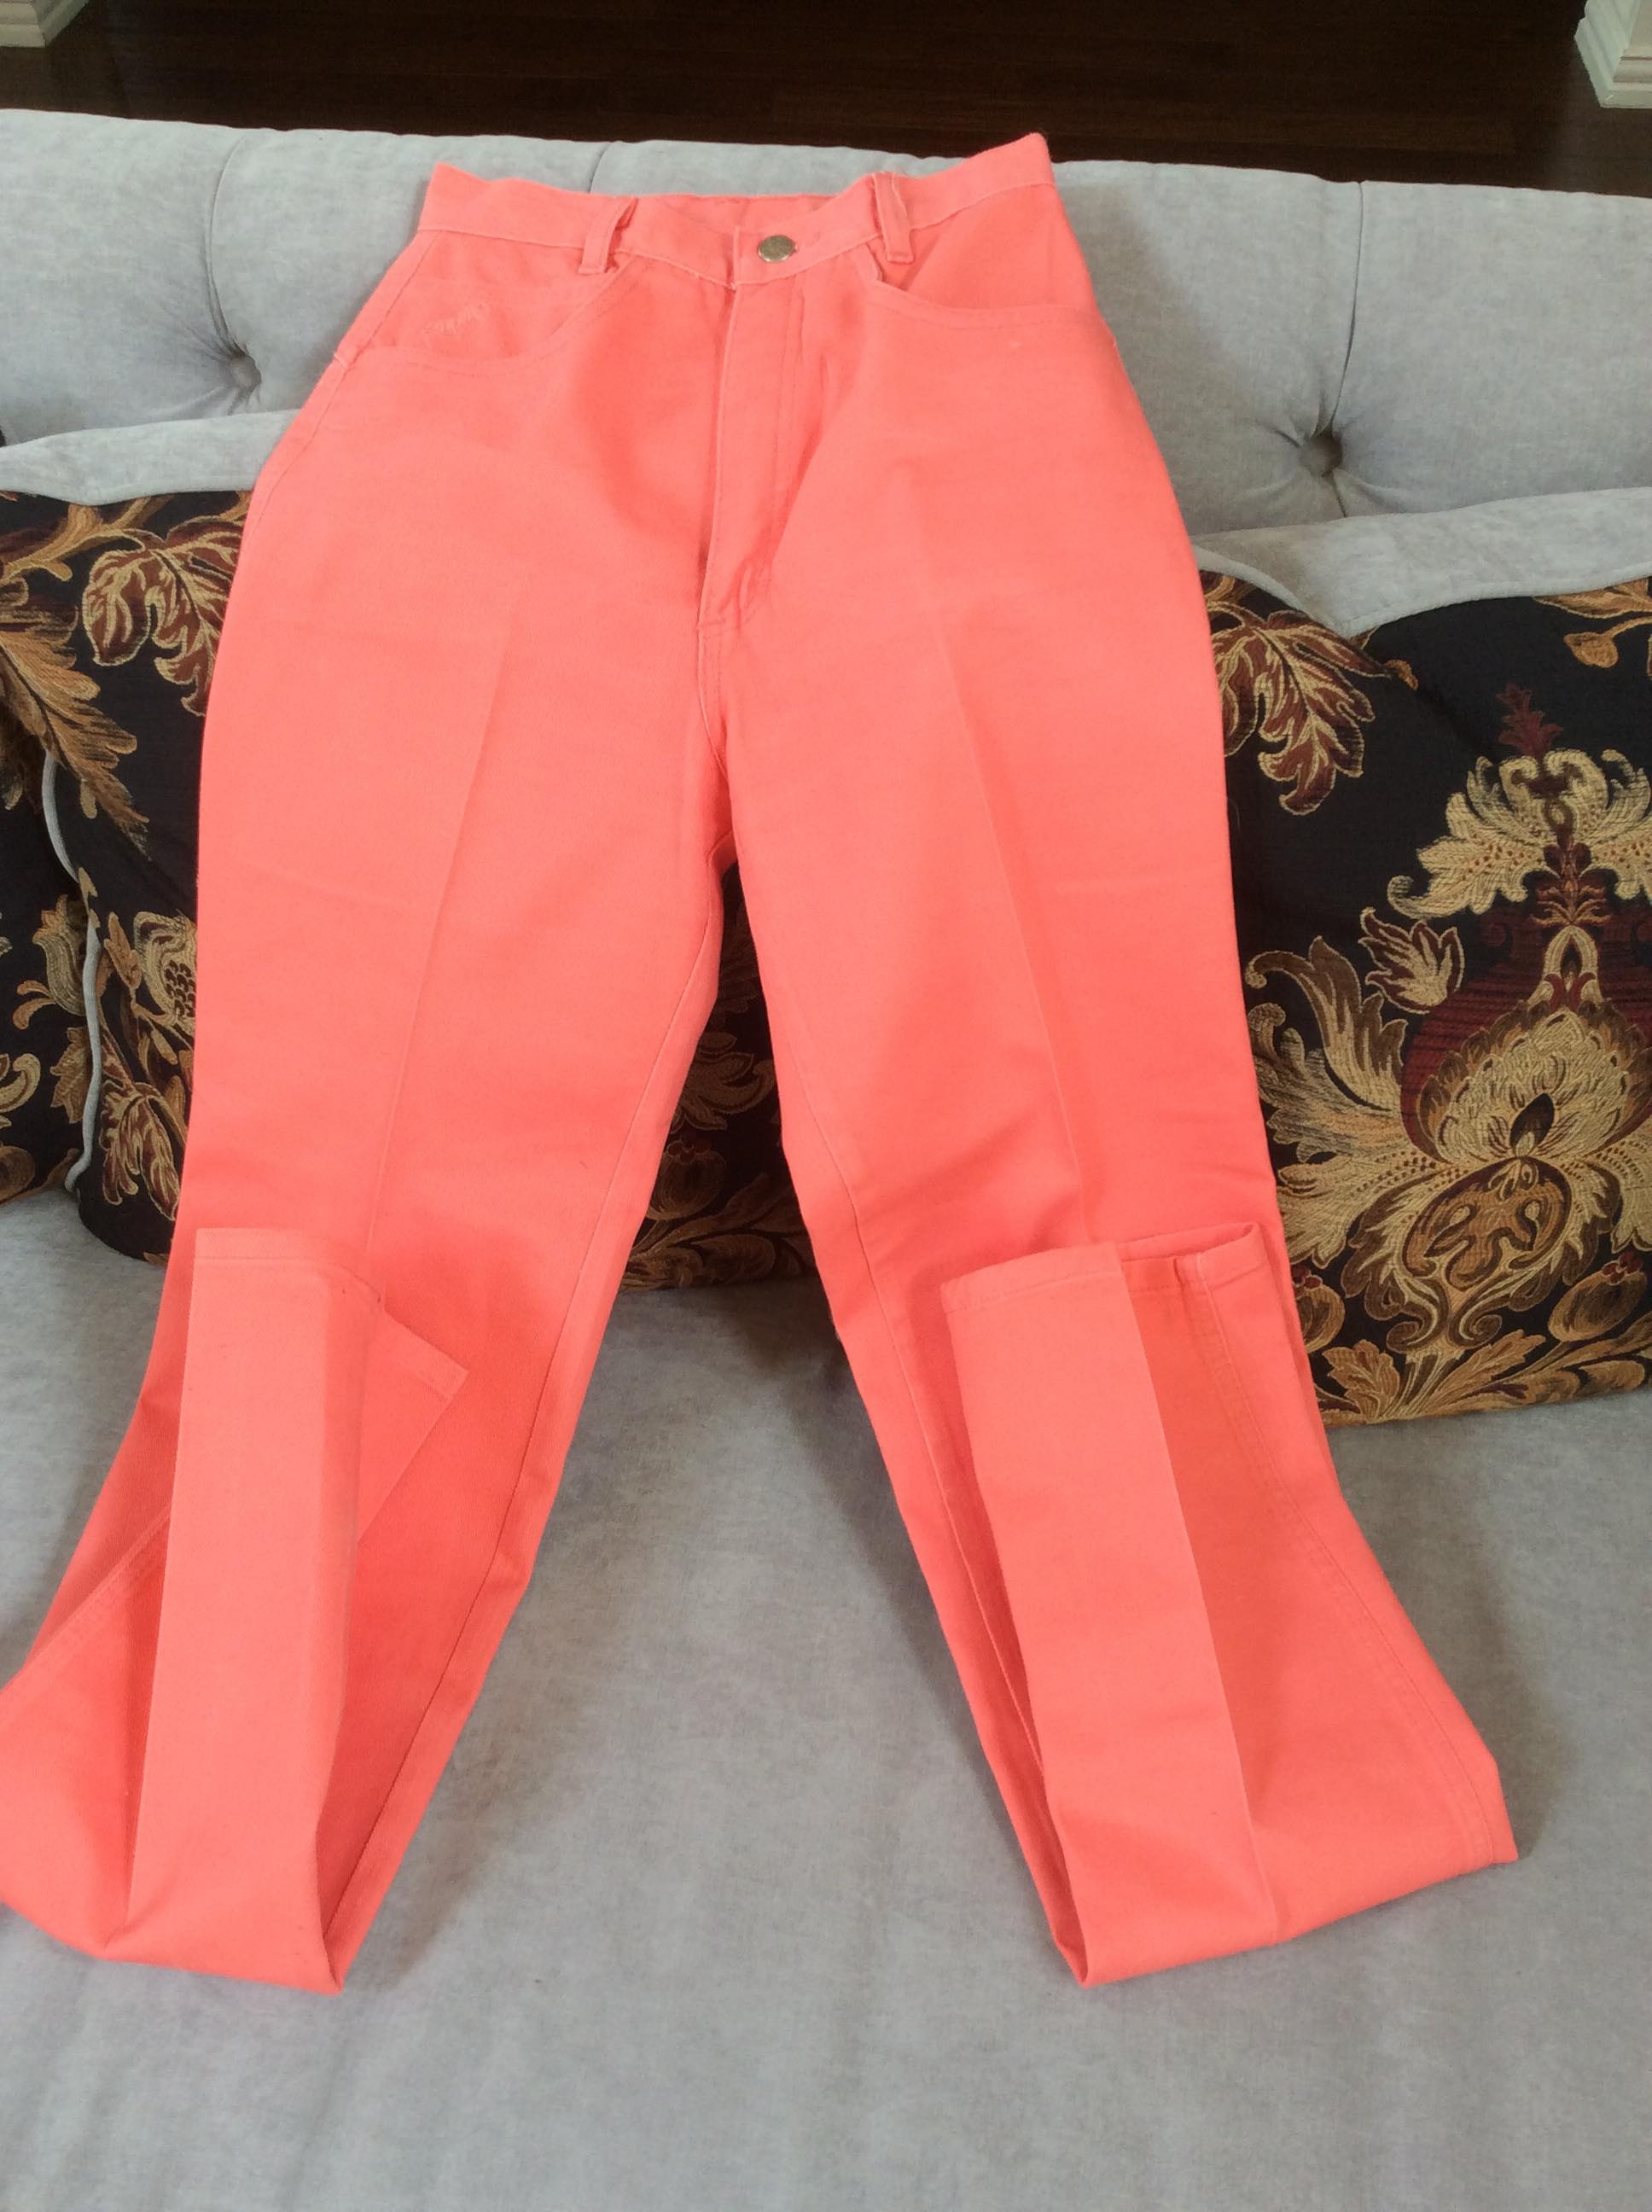
So here’s the back story… Shari bought this pair of interestingly colored pants….
And, of course, she shared it with us in the Sisters/Mother FB chat group.
Since no one was asking ME to wear them, I just moved on as I suspect, everyone else did. …. Except Shari …. because she had plans for those pants and she wasn’t telling anyone either…
The next day, she and I are private chatting about this and that, when she decides to “SHOW” me the part that she had hinted the day before might be “really SPECIAL” about those salmon pants.
So, here’s the convo:
Shari: I was just going to send you this…cuz I know you’ve been waiting…
Jen: with baited breath –
Shari:
.
Jen: how precious (Frankly, what else can you say to something like THAT ????? OMG??? What on earth is THAT? – lol)
.
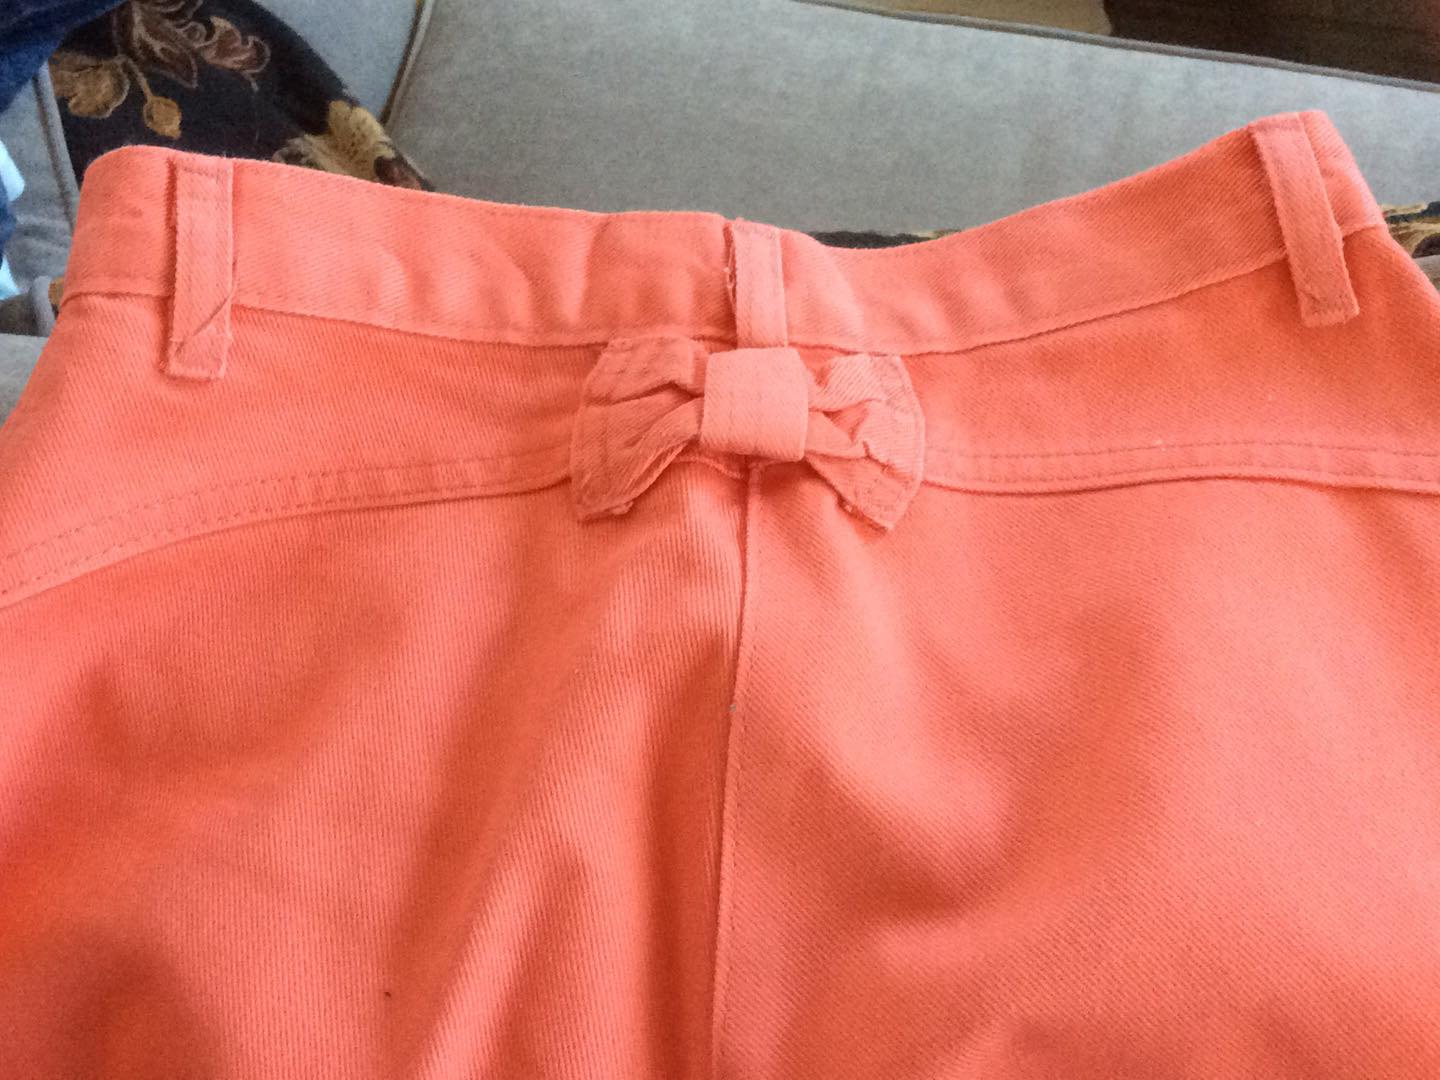
Shari: The bow on the salmon jeans butt. LOL
Sorry, but they are a size 3. LOL
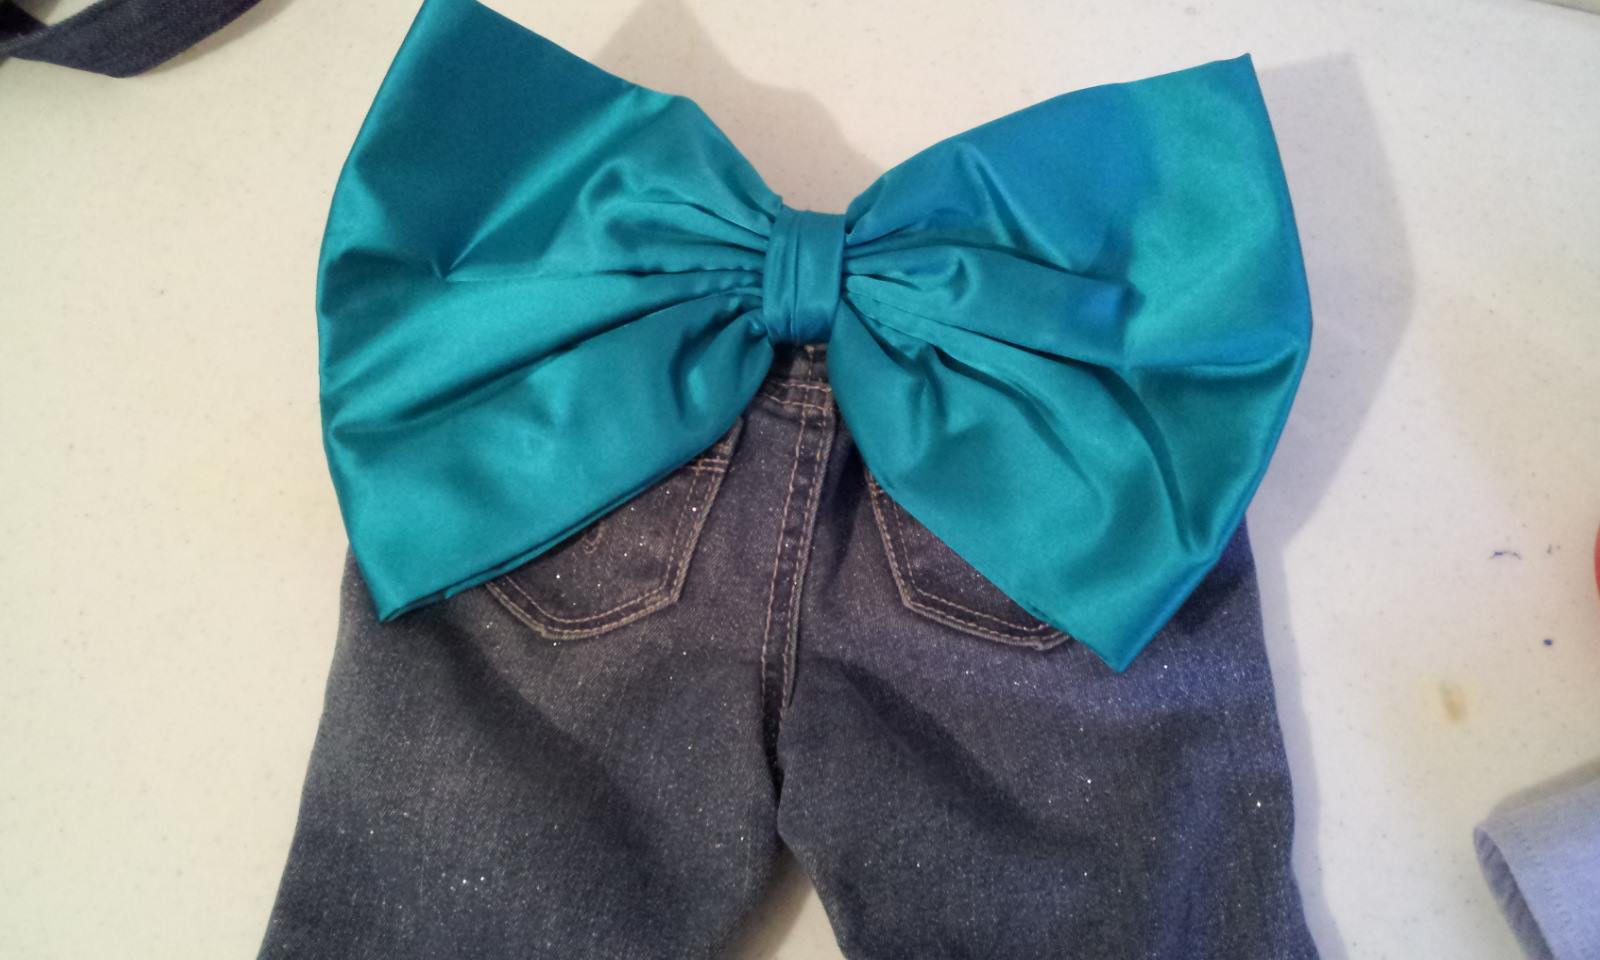
Jen: I’m a bit jealous.. good thing I can sew- I just happen to have a bow– just have to pick out the pants — hang on, I’ll get the bow
Shari: Which means by today standards, it about a -0.
Jen: Please don’t hurt my feelings by saying it’s too much — I just soooo want to wear this when I go out shopping — maybe even the dentist office?
Shari: Ok
Jen:
Jen: now who’s jealous ? – lol lol
Shari: You go right ahead and wear it. Let me know what people say, because that’s a show stopper, alrighty.
Wow.
Jen: do you really mean it? You’re not just trying to save my feelings?
It is WOWSER though – not just WOW
Shari: Oh no, it’s definitely a wowser!
Jen: people be looking and pointing at me as I go through the store—
‘WOWSER, look at that bow’ !!!
Shari: You let me know how many orders you get.
Jen: Yeah, that’s about how I see it going. LOL ……………could see me/ my butt and bow – on the cover of some fashion mag — you never know, so sorry about your tiny bow— but the color is nice
Shari: LOL – liar.
It’s ugly – bow and color. LOL
Jen: well, I MIGHT be talked into making you a bigger bow, but I’d need to cut off one of the legs of those salmon pants to do it — hey, but you’d be hot walking through Target
Shari: If I were a size -0, I’d be right on that offer. LOL
Jen: somehow I’m getting the feeling you’re a bit relieved about that size thing right about now …
Shari: Never felt better about being a 10-12 in my life. LOL
……………
So, tell me, dear reader … Wouldn’t you really rather have MY bow on the backside of your pants than Shari’s little bitty, dinky bow?
Tell us how you feel –
So, in the mean time….
Live Every Moment, Love Beyond Words, Laugh Everyday,
~Jennifer
4TxSisters at Etsy
by Jen_F | 4TxSisters Etsy, Aprons, Blog, Fabric, Jen_F, Our Art, Transformations, Upcycled Projects
Using an man’s shirt, no pattern, just an image in your head of what you want instead of a piece of fabric, putting a pattern to it, cutting it out, sewing it up and saying “here’s an apron” … well, it has its own sort of excitement for a fly-by-the-seat-of-your-pants seamstress.


But besides the uniqueness of using a man’s shirt, why would I make an apron, and then make an apron for you too? Here’s why. In my opinion there are three typical issues with aprons
#1 They bunch up my clothes
#2 They come untied
#3 The top rides low and stuff still gets on my clothes because, frankly, there’s a shorter distance between my mouth and my chest than my mouth and the top of most aprons.
So, to eliminate issue #1, the cloth of the apron bunching up as I putter around the house, I line my aprons. And I think you’ll find that once you use a lined apron, you’ll be hard pressed to wear a plain ole’ apron again.

#2 – They come untied. I made aprons for my 3 sisters and my mother re-purposing some beautiful western fabric Shari had had me make curtains out of years ago. Next older sister, Deb, complained that she never wore hers or many other aprons because they come untied.
She likes an apron with really long ties that she can wrap around and tie in front… So…. that’s why most of my aprons have really LONG waist ties.

#3 – Aren’t all aprons made too long in the neck for most people? I always assumed everyone bought aprons and just tied, safety pinned, or clothes pinned the neck tie. With that in mind, I have to tell you I was broken hearted when my mother wanted me to have an apron I made for her back because she thought it was too pretty for her to wear.
She hadn’t safety pinned, clothes pinned or tied the neck part shorter. She’d taken a pair of scissors and whacked, yes, I said “WHACKED” that neck tie almost at the half way point and tied it to the length she wanted.
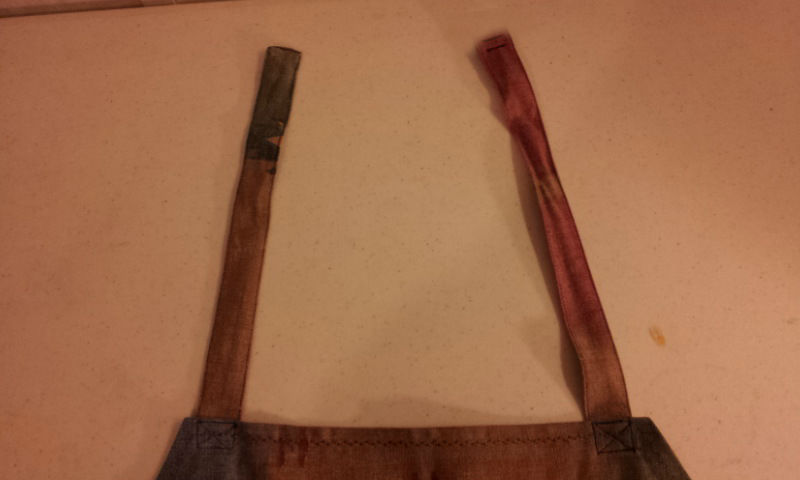
Well, once I got off the floor from shock, I realized that was an issue all of its own. Then I went to visit sister, Shari. She wears her apron almost right under her neck. She said it’s either that or a bib- lol – so then I knew… there’s a BIG issue with apron neck heights… well, at least in my family, so it was time to ‘fix that’.
And this is only a couple of ways to fix that…


And now you can, adjust away 
Recently I have even gone back to the basics of aprons by making them with ties- which makes it TOTALLY adjustable–of course, up to the length of the ties. lol
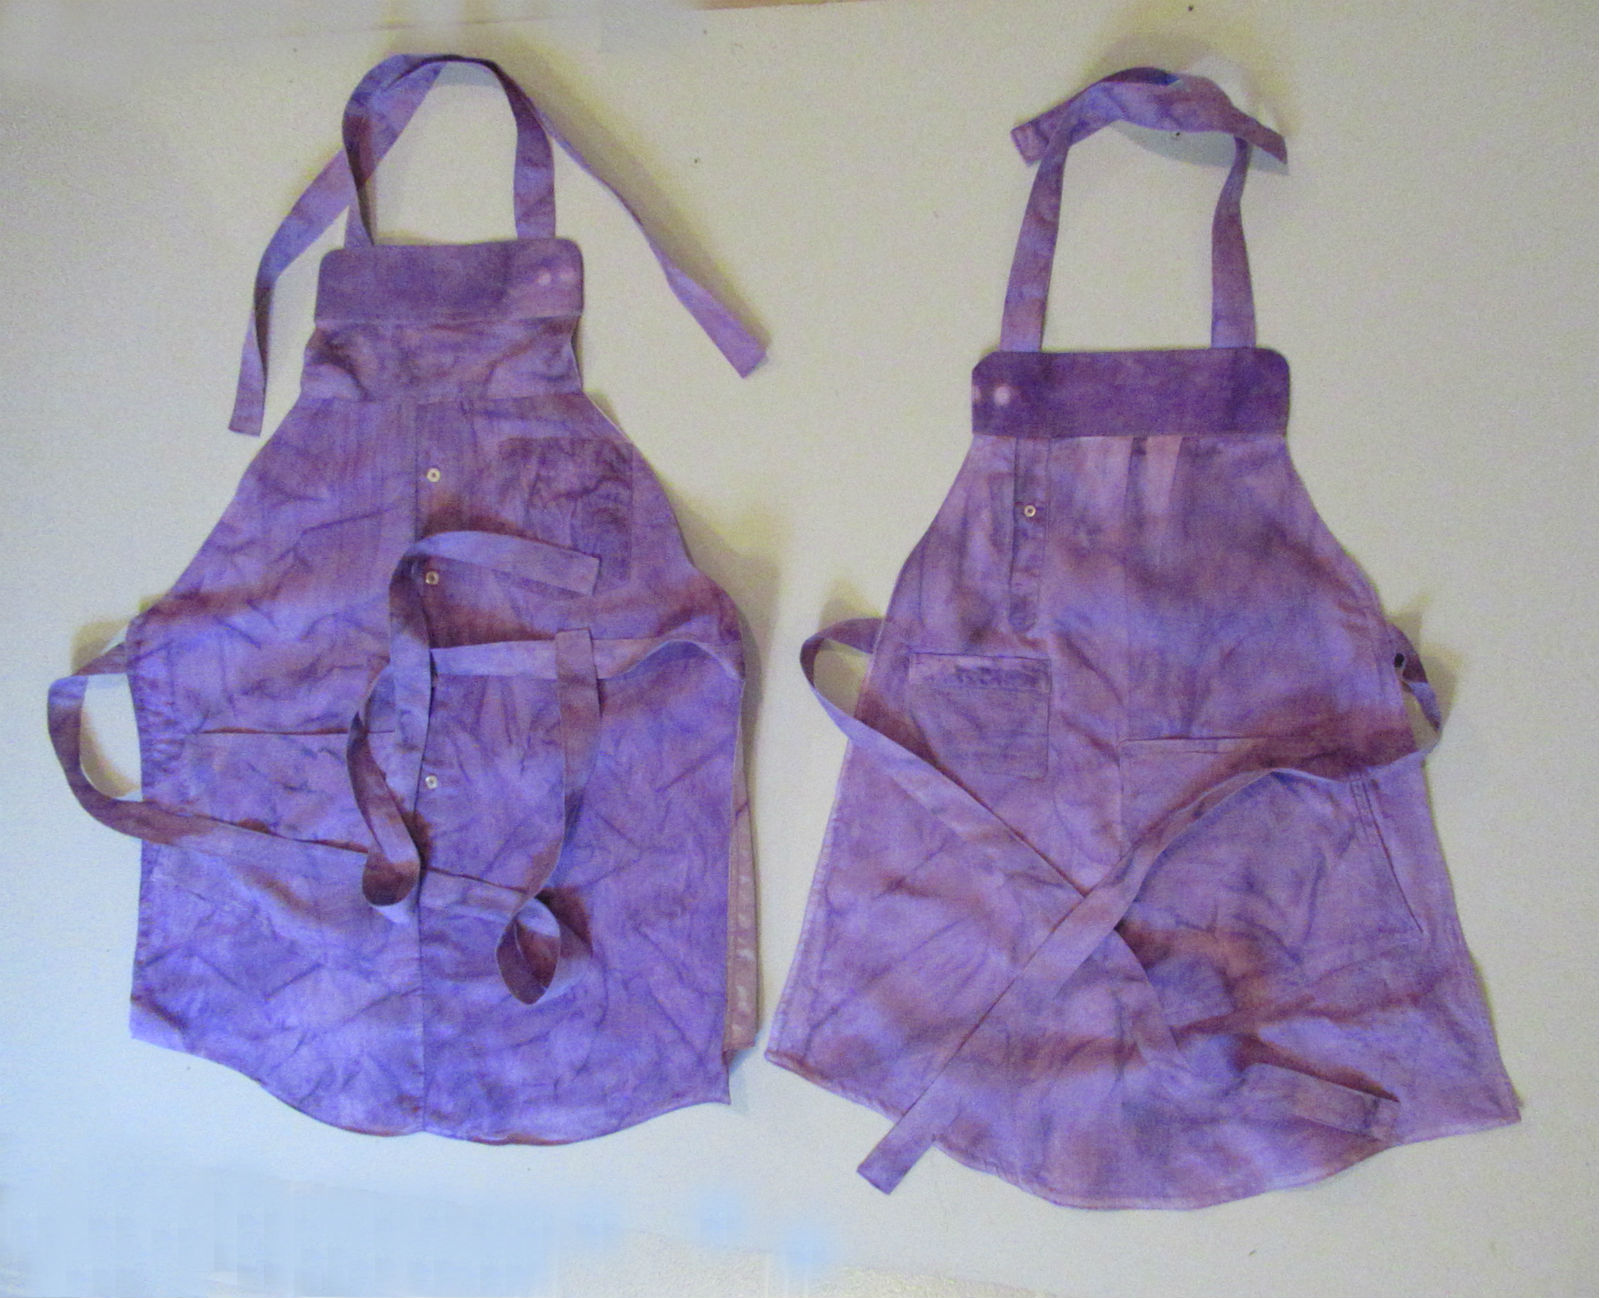
So, there, now you know why I’ve done some unusual things with my aprons by lining them, making the neck adjustable in most cases with buttons,(now with ties) and then made really LONG waist ties on many of them.. I hope you will give one a try. I don’t think you will want to buy another apron off the shelf again much less give something like that to a loved one.
You can find more of my Man’s Shirt Aprons over in our 4TxSisters Etsy Shop.
So, in the mean time….
Live Every Moment, Love Beyond Words, Laugh Everyday,
~Jennifer
4TxSisters at Etsy
by Jen_F | Blog, Fabric, Jen_F, Our Art
I know, I know, based on that title you expect to to tell you how clutches came to popularity… BUT that’s not why I’m here today.
What good is a purse if you only use if for “special occasions” because it really isn’t functional?
As the designer of these clutches, I started out with a vision of a bag that would be not only sleek in design but would be functional as well. But how was I going to complete this task?
Having a bevy of patterns at my fingertips and an idea formulating in my head, I sat thumbing through them until I came upon a pattern which looked to be close to what I was wanting. Upon further study of the pattern, I discovered it was just another run of the mill pattern and nothing special at all, or at least not in my opinion. But if you do not know me, you wouldn’t know that I tend to “live a bit on the wild side from time to time”.
Quite some time later and many drafts later, I finally had a plan in my head reflecting what I think is important in a clutch and it was to the fabric center for me.
The real adventure begins with the selection of fabric for the project at hand. You can’t imagine the number of fabric pieces that can end up piled up in front of me before it finally jumps out at me and says……. “Here I am; one beautiful bag in the making!” In the meantime, while waiting for that fabric to jump out and say “me, me, me .. pick me. I’m the one” … I ended up with a real mess to pick up…. AND ended up this trip with 3, count ‘em … 1-2-3 selections that screamed “It’s gotta be me”.
So, what do you do when THREE pieces scream at you that they are “IT”? Well, if you’re me, you just say “OK then, let’s go.”
So now the work begins….. color selection for each phase of the bag, base and linings, and the appropriate number of pockets, inside and out, pouches and loops – pocket for the cell phone, etc., closures, whether they will be zippers, Velcro, snaps, magnets, all these things have to be decided.
Finally, I was ready to actually begin………… after hours of cutting, stitching, ripping seams (sometimes, because I’ve discovered I’m more fussy about certain things than I ever realized in my younger years of sewing) and accessorizing, the first of my clutches was complete and ready reveal to my sisters.
Pleased with what had developed, it was time to reveal the first in my line of clutches. I received the anticipated responses of “good job”, “looks nice”, etc, but at the end of the “show” sister, Pat, asked: “What do you plan to do with the extra strap you are offering? Do you think you could work in a pocket to store the strap inside the bag?”
First response: WHAT? The bag is finished, Pat!!!!
My second response was “LOL, Pat, I would just throw it in a drawer and forget it” , but then I realized, I had NOT created the perfect clutch .. and evidently it was not finished YET …. (smh)
But that’s what we do, we work together to improve and make an exceptional product to you. Me? What did I do? Back to the “Sewing Room” to design a storage method for the additional strap…. because frankly, not every clutch carrier just tosses their additional strap in a drawer and then forgets about it.
We are hopeful that you will appreciate the small, but meaningful improvements we have made upon a standard clutch and will want to add one to your collection of bags. I, for one, don’t think anyone should be without one really nice clutch.
You can find these two clutches at our Etsy shop, along with more.. and more to come in the future.

.

.


Check out our Etsy site to see the clutches on hand, and know that more are to come!
in the mean time….
Live Every Moment, Love Beyond Words, Laugh Everyday,
~Jen
PS: as an added bonus for sticking around to get to the end of this post, here are a couple of other bags I created that you won’t find on Etsy … YET !!! lol

.
")
.
.
And my camo bag that a few of my other sisters thought I was nuts to be making.

by Jen_F | Blog, DIY, How To, Jen_F, Our Art, Pat_T, Shari_T
It’s been pretty busy for a while all around the 4TexasSisters households. Lots going on but not a lot we’d want to write about, ya know …lol
Though I’ve got tons of stuff to share about what’s been going on, I’ll just give a recap of what’s coming up. How’s that?
And since it’s always hard to know where to start when there are four of us, I’ll start with the eldest and and work my way down the sister chain.
Pat’s been grandparent sitting. First we had Ethan, now we also have the new addition… Elise. sorry, no pics right now, but maybe in the future. However, you can get a glimpse of Ethan if you go to bcalease.com. You could say he’s the Christmas cover story over there… OR you could just say “he’s adorable” .. either works. Am sure Elise will end up as a star over there in the future, but right now she’s barely 2 months old, so we’ll let her grow up a bit first.
Anyway, that’s not all that’s happening in Pat’s house.
She’s pulled out those rusty paint brushes and I have to tell you, this woman needs no warm up time… when she paints, she paints.
Check this out. Gorgeous, huh?

Keep up the good work, Pat. We look forward to seeing more soon.
So, moving from the Pat house to the Deb house… Deb’s been super busy too, and evidently is the real jet-setter this year as she gets ready to go on a cruise. Yep, she’s our cruise child for the year. lol
She’s been tearing it up with her embroidery machine and sewing machine, revamping her clothes and stealing some of the husband’s to make into her own.
Check out this man’s pair of pants that Deb will now be sporting as a skirt… all trimmed out.

She’s also been burning up that embroidery work, but I don’t want to expose ALL our projects in one post.
I didn’t get invited on this cruise, but I did get invited to babysit Harley, the wiener dog and there may be a t-shirt involved in this deal ( lol )so, I guess, I’ll go for door number 2, babysitting the dog.
Moving on, to … ME? Well, I’ve been busy getting my sewing corner set back up and burning up a few threads myself. This is a bedside caddy I made for one of my grand nieces who has headed off to her first year of college as of the end of August.

I have to say, I honestly had no idea what I was doing as it all came together. And I discovered what I’ve probably always known, but kept a secret…. I am a POCKET FREAK. That bedside caddy ended up with 2 main panels and a total of 15 pockets… which is the dream come true for people who want everything literally within arm’s reach. I think the only thing that won’t fit in one of those pockets is the kitchen sink.. However, there’s a spot for a water bottle, so that’s close. Huh?
Oh, and the fabric? Well, the main solid blue came from the grand niece’s great grandmother on her granddad’s side. There’s some solid blue jean fabric on it. That came from her great grandmother on her grandmother’s side. the blue glittery fabric came from my stash I’ve been carrying around since before I moved back to Texas from Florida. AND the denim Jeans pockets, well, err uh, a few came off the behind of a pair of my old jean shorts.
So, moving along… to last but not least of the happenings in our 4TexasSisters households… Let’s go see what Shari’s been up to.
Pumpkins and furniture.
I have to say Shari and Pat both bring out the décor for each season and holiday. Sometimes visiting one of their houses is like visiting fantasy land. lol Always, always, looks so …. seasonal… oh and awesome, of course.
And since Fall is in the air… Shari is making pumpkins… and pumpkins and…… more pumpkins.. here are just a few that are still in the works.

AND… she’s become our furniture upcycle gal…. Yesterday she and Ryan were caught working on the springs of a chair. ok, so Ryan was caught. I guess Shari had to take the pic. lol


And there’s more going on with all of us, but I’ll save that for another post.
So, in the mean time….
Live Every Moment, Love Beyond Words, Laugh Everyday,
~Jen
by Jen_F | Coconut, Jen_F, Main Meal, Recipes
Sorry I don’t have nice pictures. Who knew I would end up sharing this recipe to more than just the family. lol – I do have not so pretty pics down below the article. Next time I make these I will try to remember to take pics as I go. ;-(
I made up this recipe as I went, so just go with your own style — change up the meat, use sausage of your choice, whatever … I’ve used Italian Sausage, turkey sausage and now chicken breast. If you’re a beef eater (which I am not), you could use ground beef or even shredded— same with pork)
You can mix match the beans (red, kidney, black, etc…)
… probably could use shredded cabbage instead of spinach ( I haven’t tried that but am sure it would work) or any vegetable or NO vegetable at all… I used to make them without- but add it now to give Deb a small amount of veggie.
The filling will fill about 24-28 6-8″ burritos and will freeze fine – for each burrito I use a heaping – I say LARGE-LARGE HEAPING tablespoon of the filling
If making for 2 people, I would say do one of three things:
#1 just throw in the serving size of meat you want, with beans, avocado, serving size of spinach, spices to taste and run with it.
#2 Divide the recipe into 3rds
#3 Or make the whole batch below, figure out how much you used for your taco shells or tortillas and then freeze the rest in that size portions.
… but below is what I do for my sister Deb once a month.
Filling:
(2 1/4 lb meat of choice) I used 3 large sized chicken breasts that weighed about 2 1/2 lbs total)- lightly boiled until done- sliced thin across the grain so it’s pretty fine pieces for the most part
Approximately 2 1/2 cups home cooked black beans/red kidney beans or 2 cans black beans/kidney beans STRAINED/drained
2 ripe avocados
Full bag of spinach (this is optional)
garlic, garlic, garlic and a little more garlic
(I use 5 or 6 cloves chopped up)
1 to 2 cup(s) shredded Mexican cheese (cheddar, Monterrey jack, most any cheese would work as I’ve used a variety over the last year)
2 TBS paprika
3 TBS cumin
3 TBS chili powder
1 TBS rubbed sage
1 TBS Oregano
1 tsp ground fennel (optional)
Mash the strained/drained beans
Mash the avocado
Lightly steam spinach and then let cool and squeeze out liquid
Slice, shred or chunk Chicken (your choice)
Dice up the Garlic (I do it to taste, so add or take away as much as you want or leave it out)
Throw everything into a big bowl, stir it up well to mix and then refridge overnight.
NOTE: Filling should be firm, not be ‘soupy’ which is why I drain the beans and squeeze out the spinach.
I let the filling stand in the fridge over night, then make the tortillas the next day.
Once the tortillas are made, get a large serving spoon, dollop a spoonful on the edge or the tortilla, roll it up like an enchilada and set aside. Move on to the next tortilla until they’ve all been filled.
Now you can freeze them (with rolled edge down) or brown them in the skillet and serve (but you don’t have to brown them if you don’t want to. I just like mine crispy on the outside)
Down below is a pic of them in the freezer. As you’ll see, I roll the edges in. It helps keep them from leaking out when browning.
I brown them on four sides, takes about 4-5 minutes for each of the four sides.
Sister Deb eats one at lunch most every day and it’s diabetic friendly.
To make Paleo flourless tortillas: (For the original recipe, go here)
~~~~
Makes: Four 6-8″ Mexican tortillas
Ingredients:
• 2 eggs
• 1 teaspoon melted coconut oil (or melted ghee)
• 1/8 teaspoon baking soda
• 1/4 cup arrowroot powder
• 1 teaspoon coconut flour
• Pinch of salt
* 1/2 tsp cumin
* 1/2 tsp chili powder
Directions:
Crack the eggs into a medium-sized bowl and whisk in the melted ghee.
Add the dry ingredients and beat well to combine. In a small (6-8″) skillet over medium heat, pour in about 1/4 of the batter and immediately roll it around to evenly coat the skillet- flip once it is set on top –(like cooking a pancake)
Here are two rough pics.
#1 I am not a photographer and only have a phone to take pics with
#2 Since I don’t use my ice maker, I took out the bucket and use that area for my freezing of things like this.

This pic is before the spinach is added
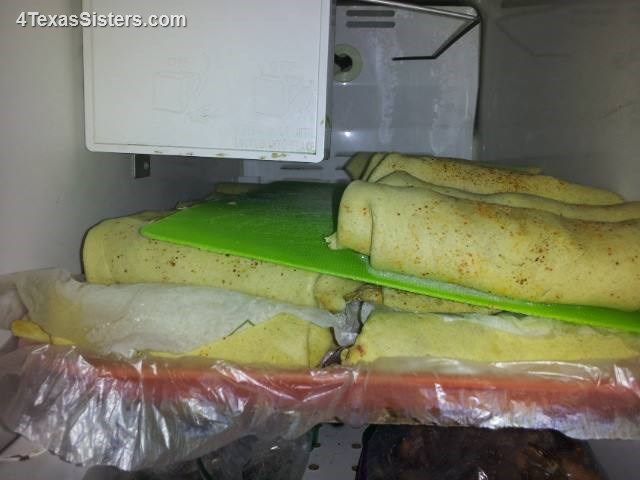
In the freezer. After they are frozen, I put them in baggies, ready to pull out, brown and eat.
by Jen_F | Coconut, Desserts, Jen_F, Recipes
I forget where we found the original recipe, but after a few changes here and there, I thought it worth sharing on our blog because it really is a great dairy-free, eggless, gluten free chocolate fudge brownie recipe.
Prep Time: 30 minutes (about)
Cook Time: 30-45 minutes
Yield: 16-20 dependent on the size of the slices
Ingredients:
3 oz. unsweetened baking chocolate
6 tbsp almond milk (you can substitute coconut milk here)
5 tbsp coconut oil
1 cup honey (vegan option: 1 cup maple syrup)
1 cup mashed cooked sweet potato (about 1 medium sweet potato)
(Note: You can substitute the sweet potato with Acorn Squash, Butternut Squash and even with Pumpkin)
1/2 tsp sea salt
1/2 tsp baking soda
6 tbsp unsweetened cocoa powder
6 tbsp coconut flour
6 tbsp tapioca flour
2 tsp vanilla extract
1/2 cup chocolate chips (optional- for a definitely sinfully chocolaty experience)
Other optional suggestions:
2 tsp Orange Extract (or to taste)
or 1 tsp Hazelnut Extract (or to taste)
or 1-2 tsp Raspberry Extract (or to taste)
1-2 tsp of instant coffee (flavored or plain — decaf or regular — or to taste)
Instructions
Preheat oven to 350 F.
If you don’t have already mashed cooked sweet potato, take one medium to large sweet potato and cut cut into 1-2″ pieces. Steam for about 30 minutes or until soft. Let the potato cool slightly then scrape the skin off from the sweet potato. Mash with a fork and then set aside 1 cup of mashed sweet potato.
(Sweet potatoes can be frozen also, so I steam several at a time and then prep, measure and freeze in 1 cup servings for a later use.
Some recipes call for microwaving your potato but personally if you’re a true health nut, we don’t mess around with the microwave as it changes the molecular structure of anything placed into it)
In a double boiler (or a metal mixing bowl resting in a pot of water), melt the unsweetened baking chocolate, almond milk and coconut oil over medium heat.
Once the chocolate has melted into a uniform mixture, remove from heat.
To the mixing bowl, add the honey or maple syrup, mashed sweet potato,vanilla, salt and baking soda. Blend well with hand immersion blender.
Slowly add the cocoa powder, coconut flour and tapioca powder and mix with a rubber spatula until uniform.
Optional – for double chocolate brownies, fold in half a cup of chocolate chips.
Pour batter into a 9″ x 9″ baking pan. Or round cake pan works nicely also.
Bake for 30 minutes or until testing with a toothpick or knife comes out clean.
Sometimes I have to bake them for up to 45 minutes. Since I’m not a scientist, I can’t tell you why the time varies.
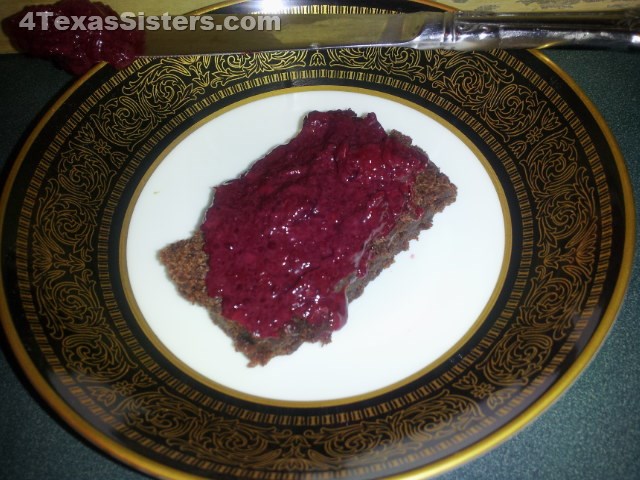
Cool and cut into squares. Enjoy!
These are great and have always been a crowd pleaser
A few weeks ago, Deb made homemade Raspberry and homemade Strawberry Jam using Chia…. which, by the way, is absolutely awesome spread on these delicious brownies.
Til the next time!
You’re never too young or too old .. So
Live Every Moment,
Love Beyond Words,
Laugh Everyday,
~Jennifer


")


