by Shari | Blog, DIY, Household Cleaners, How To, Shari_T
I’m about to teach RP to make laundry sauce and I can teach you right now, too…So, let’s get to it.
Here is what you need.
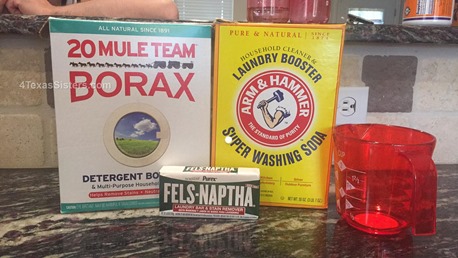
You will cut the Fels-Naptha laundry bar in half.
Shave it and soak it in hot water overnight.
You will mix 1/2 cup Borax and 1/2 cup A&H super washing soda in your Ninja/blender with 1 cup boiled water.
I ended up with almost 2 cups but that is okay.
I’ll add less water at the end.
Here’s mixing the 2 powders with the hot water. I do this to help break down the crystals.
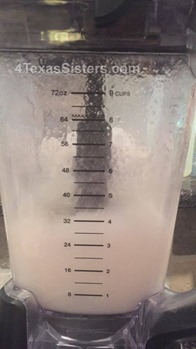
Next – Cut the gelatinous bar mix.
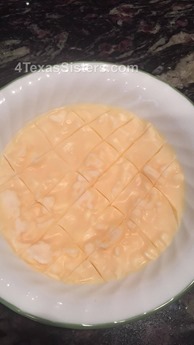
Add it to the Ninja/blender.
Add any essential oils, like lavender, now.
Then mix.
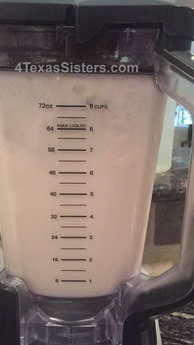
It takes a few minutes to start looking like whipped cream.
At this point, it’s all about how creamy you want it. Add water as desired.
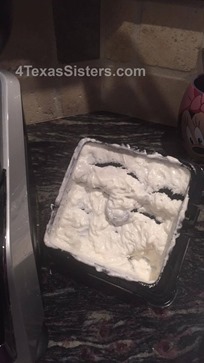
That’s my first round. I will add about a half cup more of water and let it go.
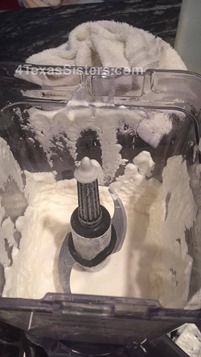
When it’s to the creamy consistency that you want, it’s time to pour it into your container. Here’s my jar, all ready for another batch of laundry ‘sauce’ as I call it.
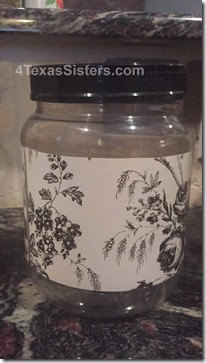
I don’t actually count the number of loads of laundry I do, but this batch will last me about a month and the cost, well you can’t beat the cost… Easy peasy to make and less than $1.25 per batch.
Once it is ready, you can begin using it immediately! I use 1 rounded tablespoon for most loads, but you can adjust according to size of load and the amount of “dirt” you need to remove from your clothes.
I made up a batch a few months ago to give the Jen and to our Mother. They both love it.
Now two things to note:
It is not sudsy like regular soap you buy, and you’ll need vinegar to clear the soap film from your Ninja/blender.
On the other hand, a non sudsy laundry soap is actually a bonus… And needing to wash your Ninja/blender out with vinegar isn’t a bad thing either.
So, mix some up and enjoy the difference in your clothes and the savings to your wallet.
Oh and a shout out to the site where I originally found the recipe: http://www.hometalk.com/12194185/laundry-sauce-easy-five-minute-laundry-soap-tutorial
Love,
Shari
by Jen_F | Blog, DIY, How To, Jen_F, Our Art, Pat_T, Shari_T
It’s been pretty busy for a while all around the 4TexasSisters households. Lots going on but not a lot we’d want to write about, ya know …lol
Though I’ve got tons of stuff to share about what’s been going on, I’ll just give a recap of what’s coming up. How’s that?
And since it’s always hard to know where to start when there are four of us, I’ll start with the eldest and and work my way down the sister chain.
Pat’s been grandparent sitting. First we had Ethan, now we also have the new addition… Elise. sorry, no pics right now, but maybe in the future. However, you can get a glimpse of Ethan if you go to bcalease.com. You could say he’s the Christmas cover story over there… OR you could just say “he’s adorable” .. either works. Am sure Elise will end up as a star over there in the future, but right now she’s barely 2 months old, so we’ll let her grow up a bit first.
Anyway, that’s not all that’s happening in Pat’s house.
She’s pulled out those rusty paint brushes and I have to tell you, this woman needs no warm up time… when she paints, she paints.
Check this out. Gorgeous, huh?
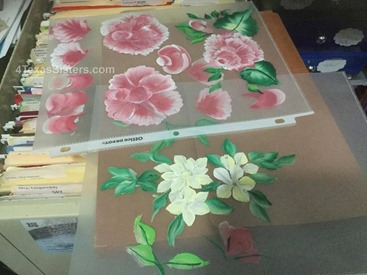
Keep up the good work, Pat. We look forward to seeing more soon.
So, moving from the Pat house to the Deb house… Deb’s been super busy too, and evidently is the real jet-setter this year as she gets ready to go on a cruise. Yep, she’s our cruise child for the year. lol
She’s been tearing it up with her embroidery machine and sewing machine, revamping her clothes and stealing some of the husband’s to make into her own.
Check out this man’s pair of pants that Deb will now be sporting as a skirt… all trimmed out.
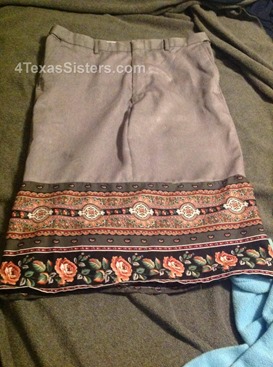
She’s also been burning up that embroidery work, but I don’t want to expose ALL our projects in one post.
I didn’t get invited on this cruise, but I did get invited to babysit Harley, the wiener dog and there may be a t-shirt involved in this deal ( lol )so, I guess, I’ll go for door number 2, babysitting the dog.
Moving on, to … ME? Well, I’ve been busy getting my sewing corner set back up and burning up a few threads myself. This is a bedside caddy I made for one of my grand nieces who has headed off to her first year of college as of the end of August.
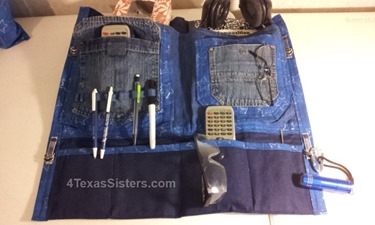
I have to say, I honestly had no idea what I was doing as it all came together. And I discovered what I’ve probably always known, but kept a secret…. I am a POCKET FREAK. That bedside caddy ended up with 2 main panels and a total of 15 pockets… which is the dream come true for people who want everything literally within arm’s reach. I think the only thing that won’t fit in one of those pockets is the kitchen sink.. However, there’s a spot for a water bottle, so that’s close. Huh?
Oh, and the fabric? Well, the main solid blue came from the grand niece’s great grandmother on her granddad’s side. There’s some solid blue jean fabric on it. That came from her great grandmother on her grandmother’s side. the blue glittery fabric came from my stash I’ve been carrying around since before I moved back to Texas from Florida. AND the denim Jeans pockets, well, err uh, a few came off the behind of a pair of my old jean shorts.
So, moving along… to last but not least of the happenings in our 4TexasSisters households… Let’s go see what Shari’s been up to.
Pumpkins and furniture.
I have to say Shari and Pat both bring out the décor for each season and holiday. Sometimes visiting one of their houses is like visiting fantasy land. lol Always, always, looks so …. seasonal… oh and awesome, of course.
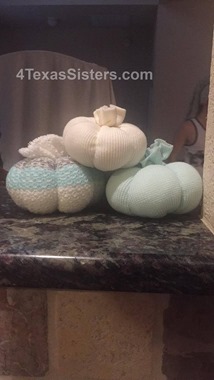
And since Fall is in the air… Shari is making pumpkins… and pumpkins and…… more pumpkins.. here are just a few that are still in the works.
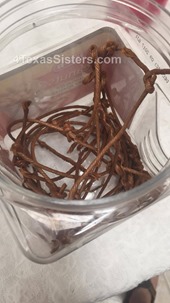
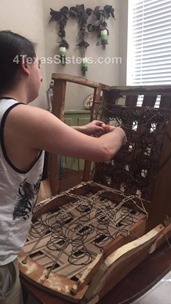
AND… she’s become our furniture upcycle gal…. Yesterday she and Ryan were caught working on the springs of a chair. ok, so Ryan was caught. I guess Shari had to take the pic. lol
And there’s more going on with all of us, but I’ll save that for another post.
So, in the mean time….
Live Every Moment, Love Beyond Words, Laugh Everyday,
~Jen
by Jen_F | DIY, How To, Our Art, Shari_T, Transformations
From tacky to happy……
Thought I’d share my recently completed transformation.
It was a sad 70’s or early ’80’s end table that had seen better days. My plan was to love it back into use as a pet kennel for Spirit.
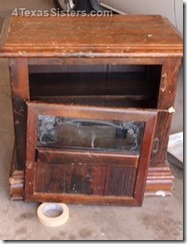
The inner shelf was completely removed, as was the glass panel.
I used a blue chalk paint and followed that with a black glaze to give it its current look. It appears a dog may have “loved” it in the past as there were chew marks on the corners. I chose to embrace those rather than repair them, and let he glaze settle in those areas.
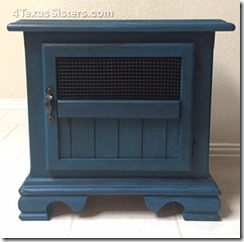
The glass was replaced by a piece of plastic which we had purchased when Zazzy the cat was little to protect her from falling off the balcony.
This plastic sheeting allows plenty of light and airflow.
The hardware was spray painted with a specialty black paint known as “hammered”. It helps hide any imperfections.
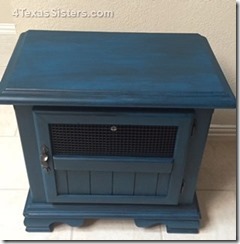
So, how did it turn out?
Of course, the real question is: did Spirit like it?
You tell me.

Love,
Shari
by Shari | Desserts, Recipes, Shari_T
Great Cake Bake – Day 4
By now, you have probably read the “Great Cake Bake Day 3” story and know that there are to be no photos.
Boot up “The Twilight Zone” theme song here, because now the story really goes off the edge.
I wanted to obtain a photo I knew was on that card, so I put it in the SD slot, Windows brought up the menu and I selected to view the photos we’d taken!
So, I closed that window and went to the computer to copy them.
They were gone. AGAIN!
Now, I was getting frustrated. I was good humored about not having them at all, but this was just plain aggravating.
Long story short, as if it isn’t already too long, when I switched from one camera to the other, Daniel’s camera opened its own file. That file was separate from the one that had my camera files. I never open the other files, so it never occurred to me until I realized they had to be there somewhere.
Soooooooo, they were there all along.
Now, that’s hilarious!
So, now we’re going on with the show.
******
By now, the guys are tired of just sampling the crumbs of crust I cut off each cake to level it. So, I took a tiny bowl that is shaped like a cake pan and used a bit of batter in it to give us a chance to really taste the cake. So far, they’ve enjoyed the cakes, even without any fillings or icings. If they don’t offer an opinion, I ask for one, and generally, their thoughts have been in line with my own; the apple doesn’t fall far, I suppose.
Today’s cake comes from a recipe by confectionarydesigns.com.
I’m not generally crazy about white cakes, but while searching for a white chocolate cake, I found this one. The recipe looked simple enough with only 7 ingredients, and the simple, but elegant design of the wedding cake peaked my interest.
Sometimes, simple is best.
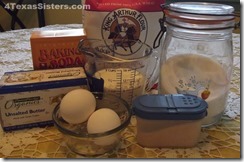
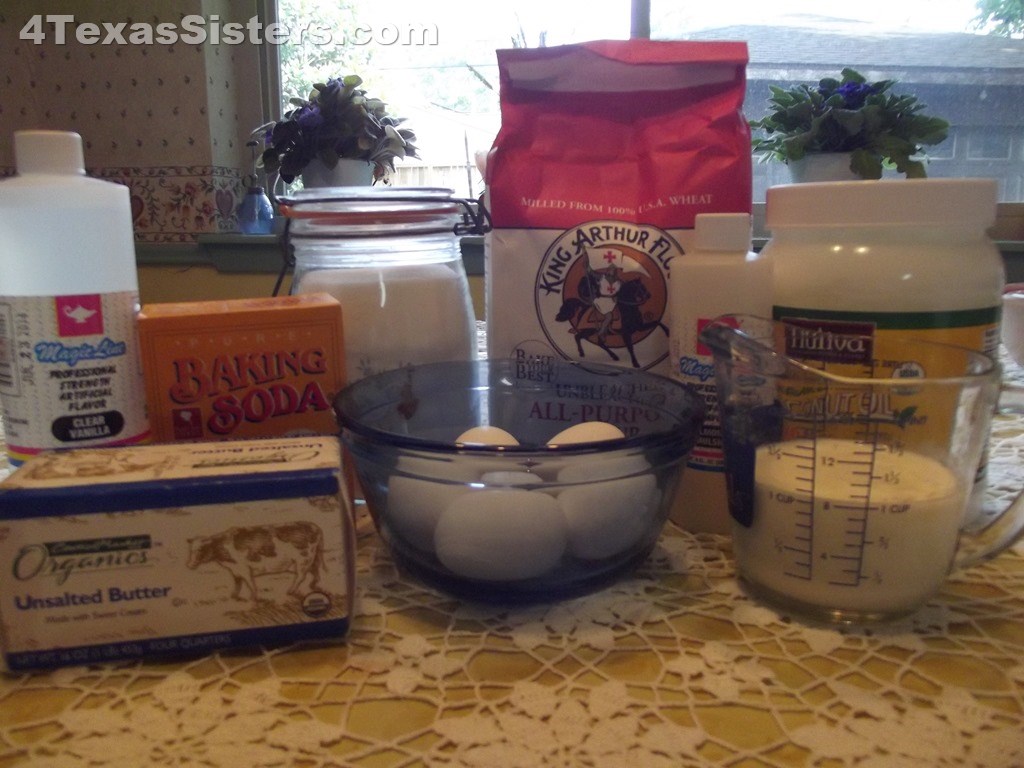
- Ingredients
- 1-1/2 cups butter, room temperature
- 1-1/2 cups granulated sugar
- 2 large eggs
- 1 cup buttermilk
- 1 teaspoon baking soda
- 2 cups all purpose flour
1/2 teaspoon salt
1. Preheat oven to 325 degrees.
2. Grease and flour two 8-inch pans. (I used 9″ with good results.)
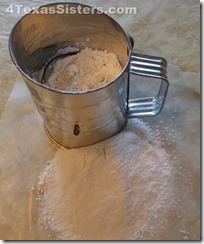
3. Sift together flour and salt; set aside.
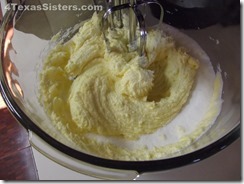
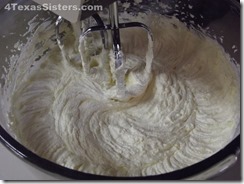
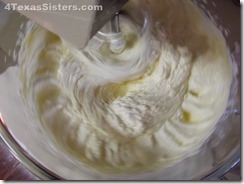
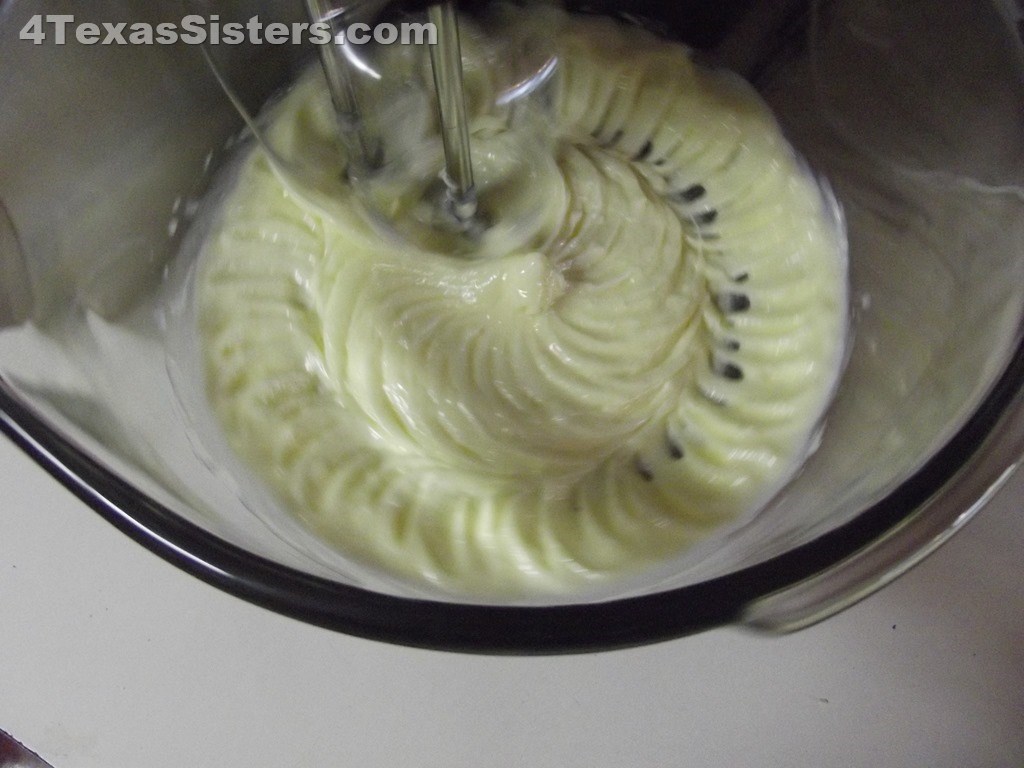
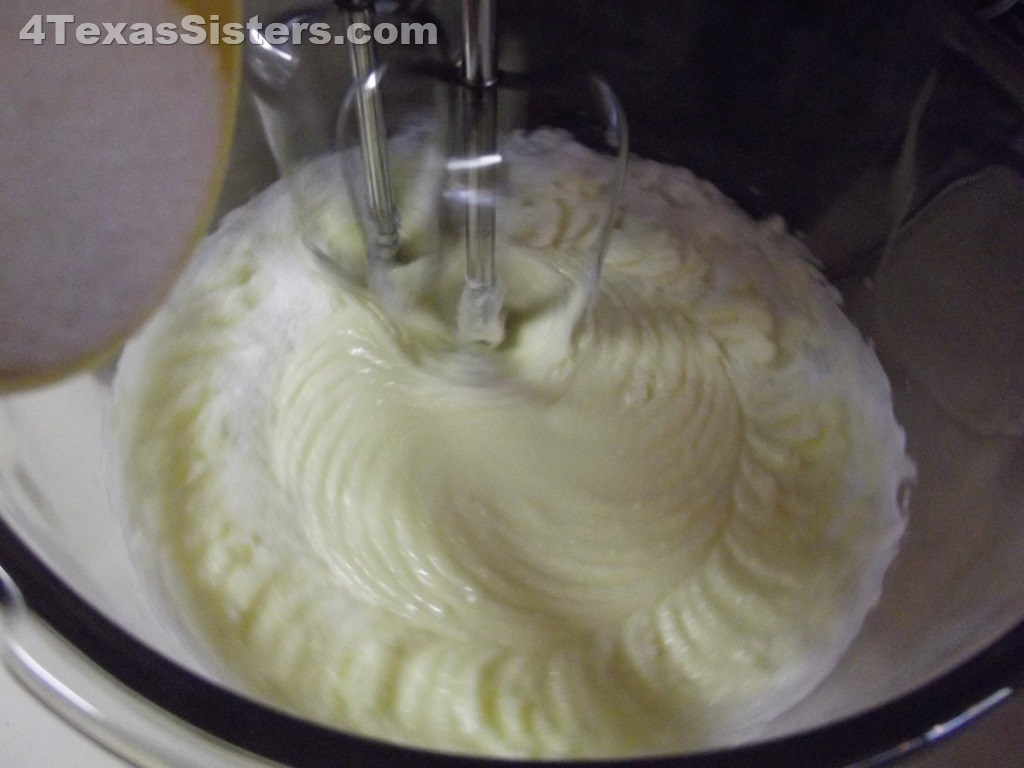
4. Cream butter and sugar until light and fluffy. This may take 4-5 minutes.
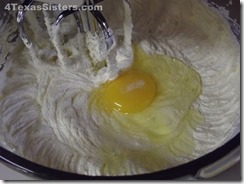
5. Add eggs, one at a time, and mix well after each addition.
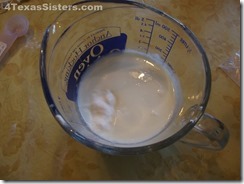
6. Dissolve baking soda in buttermilk.
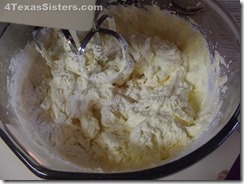
7. Alternately add flour and buttermilk, beginning and ending with the flour mixture.
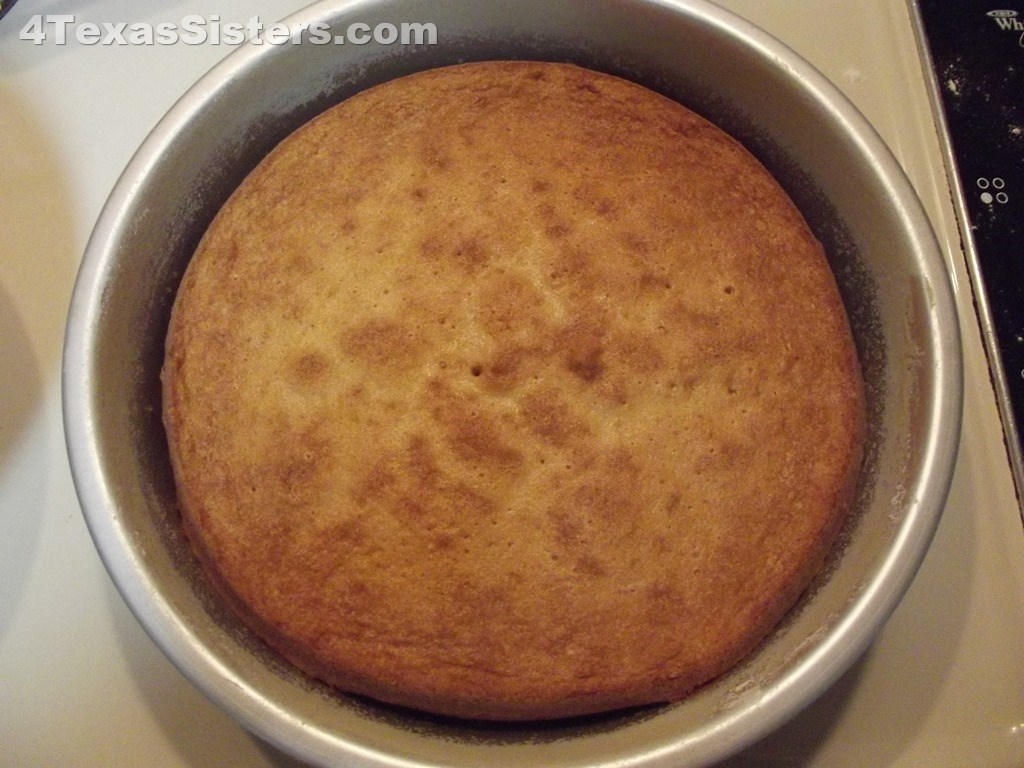
8. Bake approximately 30 minutes, or until a toothpick inserted in the middle comes out clean.
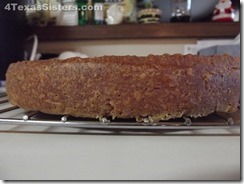
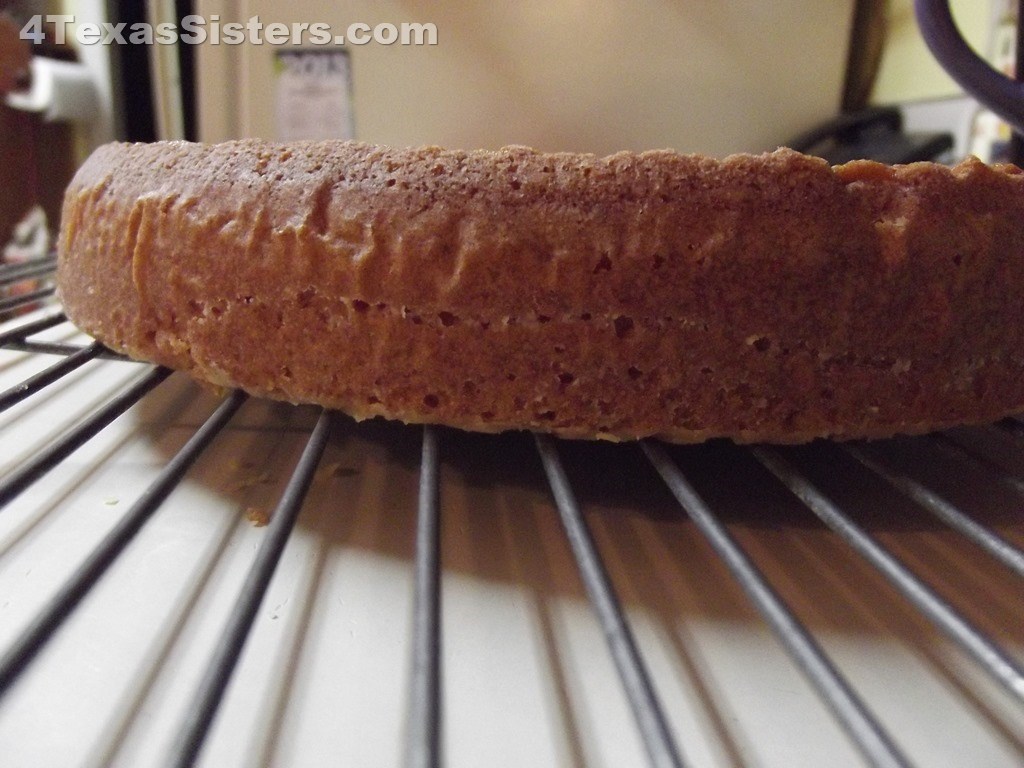
9. Cool cakes 10 minutes, then invert onto a wire cooling tray.
This recipe made a moist, light, delicate cake with a wonderful taste. This is a keeper of a recipe, and I’d definitely use this for a wedding or other special occasion.
But, let’s be clear: if you’re expecting a pure white cake, this is not it. This cake is a yellow butter cake. Thankfully, its color is not important to me.
I’m anxious to see how it handles the fillings and icings.
Oooo, I can’t wait!
Love,
Shari
by Shari | Desserts, Recipes, Shari_T
I have to say that everything went smoothly today; no mishaps with lost (or found) photos or additional broken bowls.
In fact, this cake went together quickly and easily. I can see it becoming a favorite of ours here at home for that reason alone.
Well, okay, it also tasted pretty darn good, too.
The recipe was found on www.myrecipes.com, where you can see the original recipe, without my changes.
Ingredients
- 1/2 cup butter, softened
- 1/2 cup coconut oil
- 2 cups sugar
- 5 large eggs, separated
- 2 teaspoons vanilla extract
- 1-1/2 teaspoons almond extract
- 2 cups all-purpose flour
- 1 teaspoon baking soda
- 1 cup buttermilk
Directions
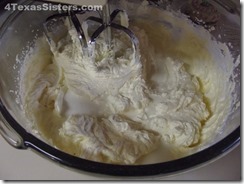
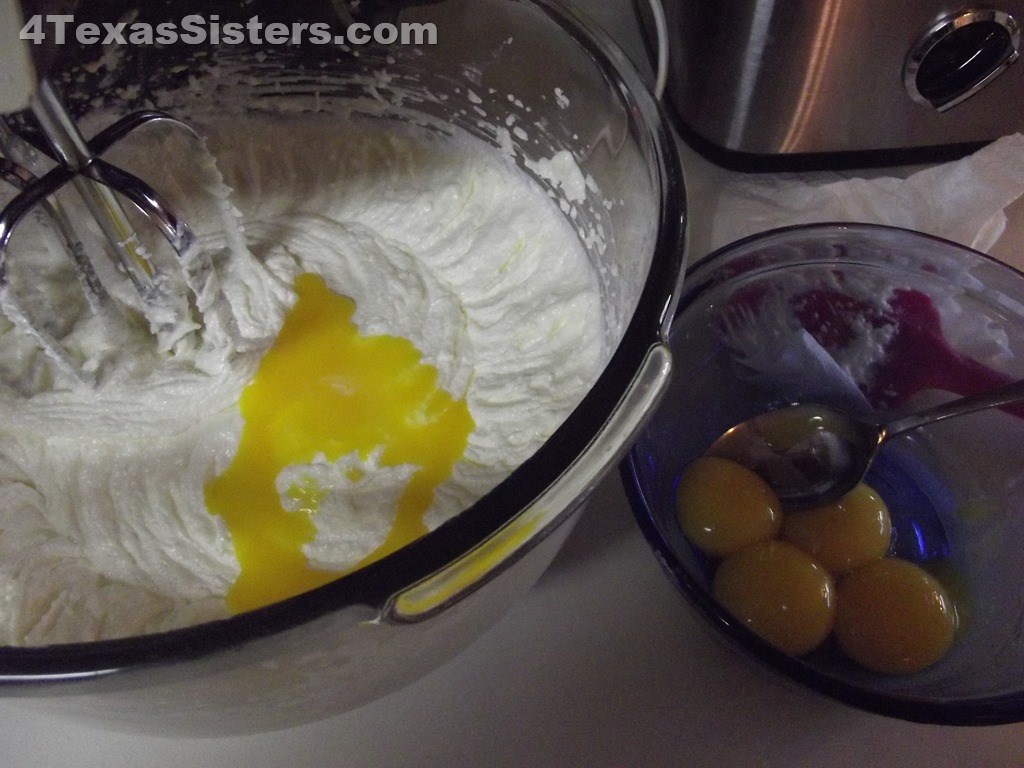
1. Beat the butter and coconut oil on medium speed with an electric mixer until fluffy.
2. Gradually add sugar, beating well to incorporate.
3. Add egg yolks, one at a time, beating until blended after each addition.
4. Add vanilla and almond extracts; beat until blended.
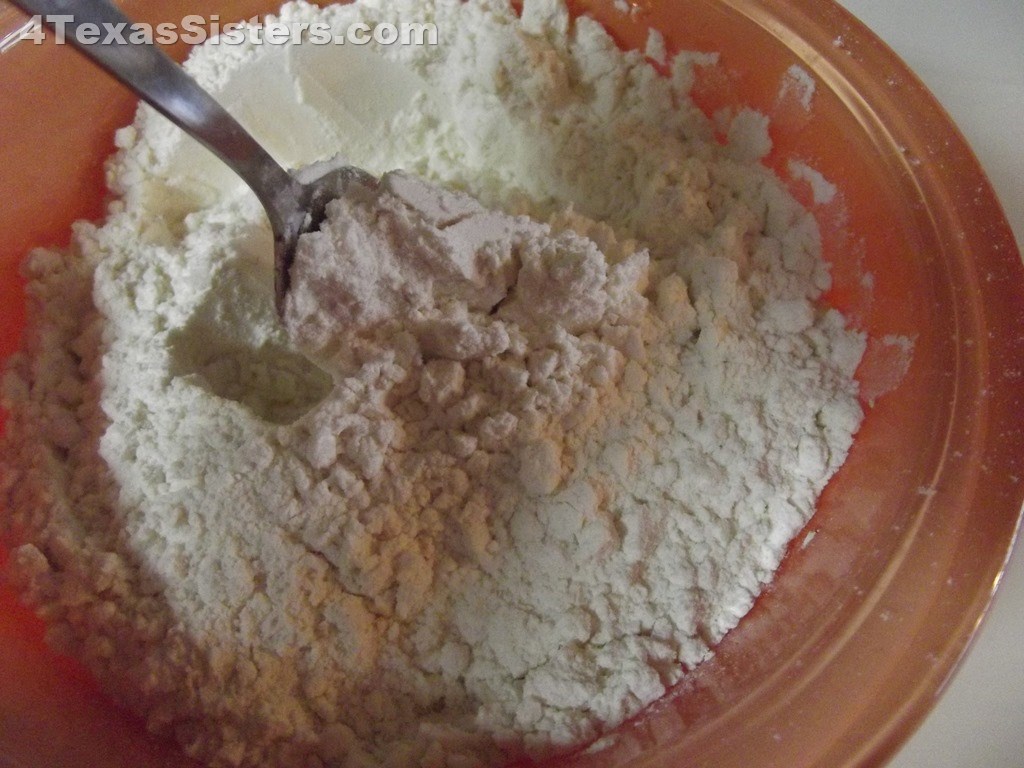
5. Combine flour and baking soda, and add to butter mixture alternately with buttermilk. Begin and end with the flour mixture, beating on low speed until blended after each addition.
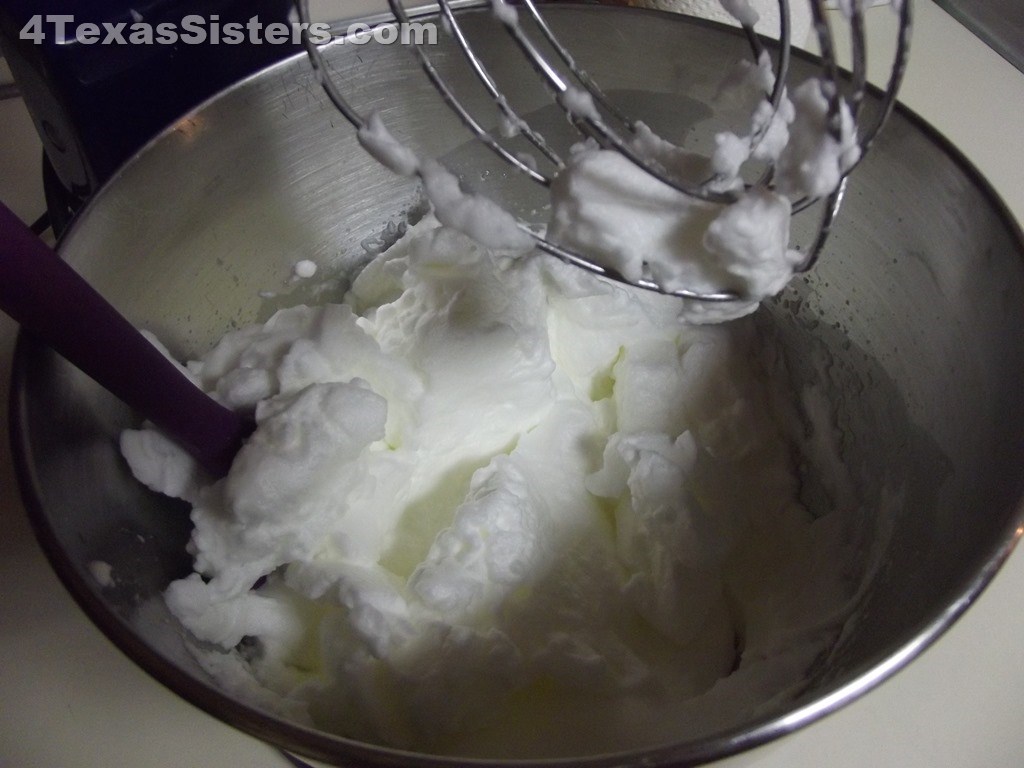
6. Beat egg whites until stiff peaks form, and fold into the batter.
(Okay, I admit it, I overbeat mine this time. It didn’t seem to make any significant difference in the final outcome of the cake. That’s my story, and I’m sticking to it.)
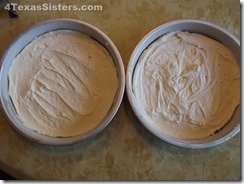
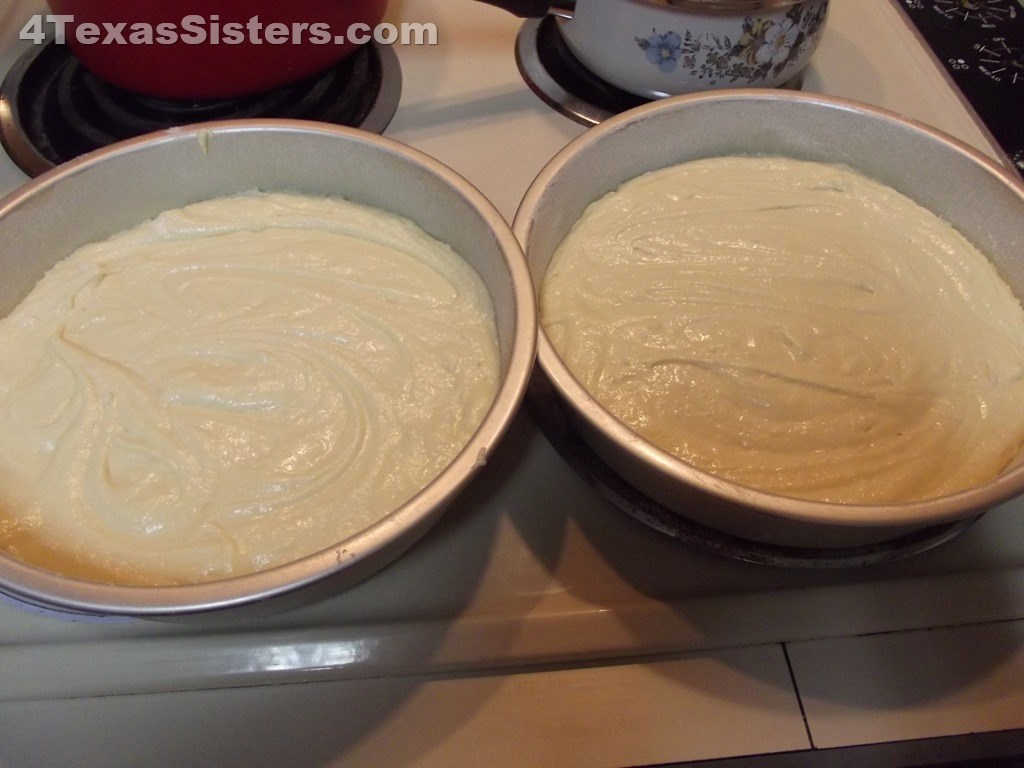
7. Divide into 2 8-inch (I used 9-inch with excellent results), greased and floured cake pans.
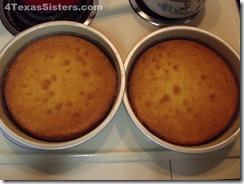
8. Bake at 325 degrees for approximately 30-35 minutes.
9. Let pans cool 10 minutes before inverting them onto a cooling rack.
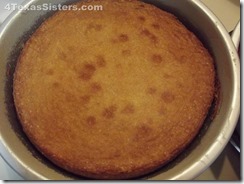
This cake had a very light texture and it held together well. It was moist and tender.
In a word: delicious!
Can’t wait to see what’s next. Oh, wait – I already know. LOL!
Until then!
Love,
Shari
by Shari | Desserts, Musings, Recipes, Shari_T
Life is about perspective.
All the cakes are made, marked and in the freezer ready to be filled, glazed, iced, etc. I even squeezed in a second round of the Red Velvet cake to test it with less oil.
No problems there.
Largely, all the cakes were relatively easy to do, but the last 2 actually took both mixers, gobs of bowls and one a double boiler. The first 2 cakes are posted on the blog, with detailed photos.
When I started this process, I switched to Daniel’s camera because he never uses it. I don’t like using mine because I am afraid of getting food, oil, flour dust, etc., into it.
While it was a Christmas gift, I know it was in the neighborhood of $1,000, whereas Daniel’s was in the neighborhood of $150. I’d rather ruin that one if I’m dropping it in some batter or a pan of boiling water.
Now, with no worries about ruining my camera, I diligently pressed forward taking photos and baking the remainder of the cakes. I even enlisted Daniel for the last 2 cakes because I’m still new at this (cooking/baking and photo taking), and what should have been a few minutes of time from mixer to oven, was taking up to 2 hours.
So, Daniel took the photos of the last 2 days of cakes. The cakes went together quickly even with some additional steps, like melting chocolate and whipping egg whites.
I had time to put the first 2 days of photos on my computer, but thereafter, I just was too busy. I spent all day today catching up on the blogs, and was working to try to get at least a day ahead.
Then, it came time to add the photos to blog 3. Photos – you know, all those hundreds we took using Daniel’s camera.
THERE ARE NONE!!!
The last photo on his camera was taken the first evening after I cooked the first 2 cakes. We have photos of Spirit sitting on a blanket on his luggage. Cute, but not steps for making cakes.

Daniel has just informed me that photo was taken on my camera, not his. That means no photos were actually recorded to the SD card.
At first, I was in shock; I just couldn’t believe there were absolutely no photos. Panic began to set in at the thought of this series.
I started laughing.
It is after all, just cakes. Right?
I can recreate the photos by simply baking more cakes. It’s not like I’ve lost photos of loved one’s no longer with us.
This is what life is all about: mishaps with sisters chasing you and you trip, shoving your teeth back into your gums, or sticking a crayon up your nose, for whatever reason, and getting it stuck.
I’m not sure this is even as bad as making a cake and finding the dog has eaten a third of it moments before your party guests arrive.
Since this moment was destined to become one of those funny stories we will tell later and laugh, why not just laugh about it now?
The greater issue was how to proceed with the blog at this point. The decision was unanimous to post what I have and add the photos when I have the chance to bake them again.
So, for now, the cake recipes and details will be posted without photos.
The next time something doesn’t go according to “the plan,” ask yourself this: “In a year, will this be funny? In 6 months? After a good night’s sleep?”
If the answer to any of those is “Yes,” then go ahead and laugh now!
Love,
Shari


