by Shari | Blog, Furniture, Shari_T
Finding Clay a gift is always an issue. He has no real hobbies, unless you consider working or coffee drinking a “hobby”, so every year it becomes a guessing game as to what to get him for Christmas (or any other occasion, for that matter). This year, amidst the usual stuff for “work” like ties, shirts, fountain pens, etc. (yawn), I found an opportunity to give him something he’d never expect and actually needs.
Daniel and I purchased a vintage end table a couple of years ago at Goodwill, but it needed more than we were prepared to handle at the time, so we set it aside. I have looked at the 1950’s dated table many times and wondered what possessed me to let Daniel convince me to buy it. It was so – ugly. But, he liked it and thought it was interesting, so I sprung the few dollars and figured we would work it out later.

About 10 days before Christmas, I realized that Clay was functioning without a real side or end table when not at his desk at his office. BAM! That’s when it occurred to me what he really needed was a true “coffee table” for his coffee cup.
And that, my friends, is how inspiration for an ugly table is (finally) born!

We didn’t have a lot of time, so Daniel and I got to work. He sanded the finish off the table, and we made a few simple repairs with wood glue, clamping and wood filler. The rounded edge of the table prevented us from using traditional clamps, so we fashioned one out of tie downs used on a truck. While Daniel was a bit skeptical of my makeshift clamp idea, it worked like a charm, and is another example of why you should never throw anything away.

After the repairs were made, it was sanded and thoroughly cleaned, and we began painting. It is not perfect, but that was not the goal for this project. It’s okay if a project isn’t perfect, as that is what provides character.

I always make my own chalk paint for large projects using a mixture of paint, calcium carbonate, baking soda and water. It provides a nice, smooth finish and allows me to use whatever color I wish, or have on hand. A few coats of the black, and it was already a better looking table! I gave it 24 hours to completely dry before the next step.
I am not an artist, so the design was created using my Cricut. I used two different patterns to create the one finally used, and then cut the pattern out of vinyl to create a stencil.

Once the stencil was applied to the top of the table, I simply applied three coats of paint, letting it dry overnight after the second coat. Then, I let the table dry 24 hours before applying 3 coats of matte sealant.


We kept it hidden until Christmas morning, when the guys snuck it downstairs. We buried it under a box and Christmas quilt rather than leaving it where he could see it. This way, we got to torture him with “what could it be?”

Clay said he thought it might be a new desk chair or something else, but never imagined anything like that!

Oh great- he needed a new desk chair. LOL
Love,
Shari
by Shari | Blog, DIY, Furniture, How To, Our Art, Shari_T
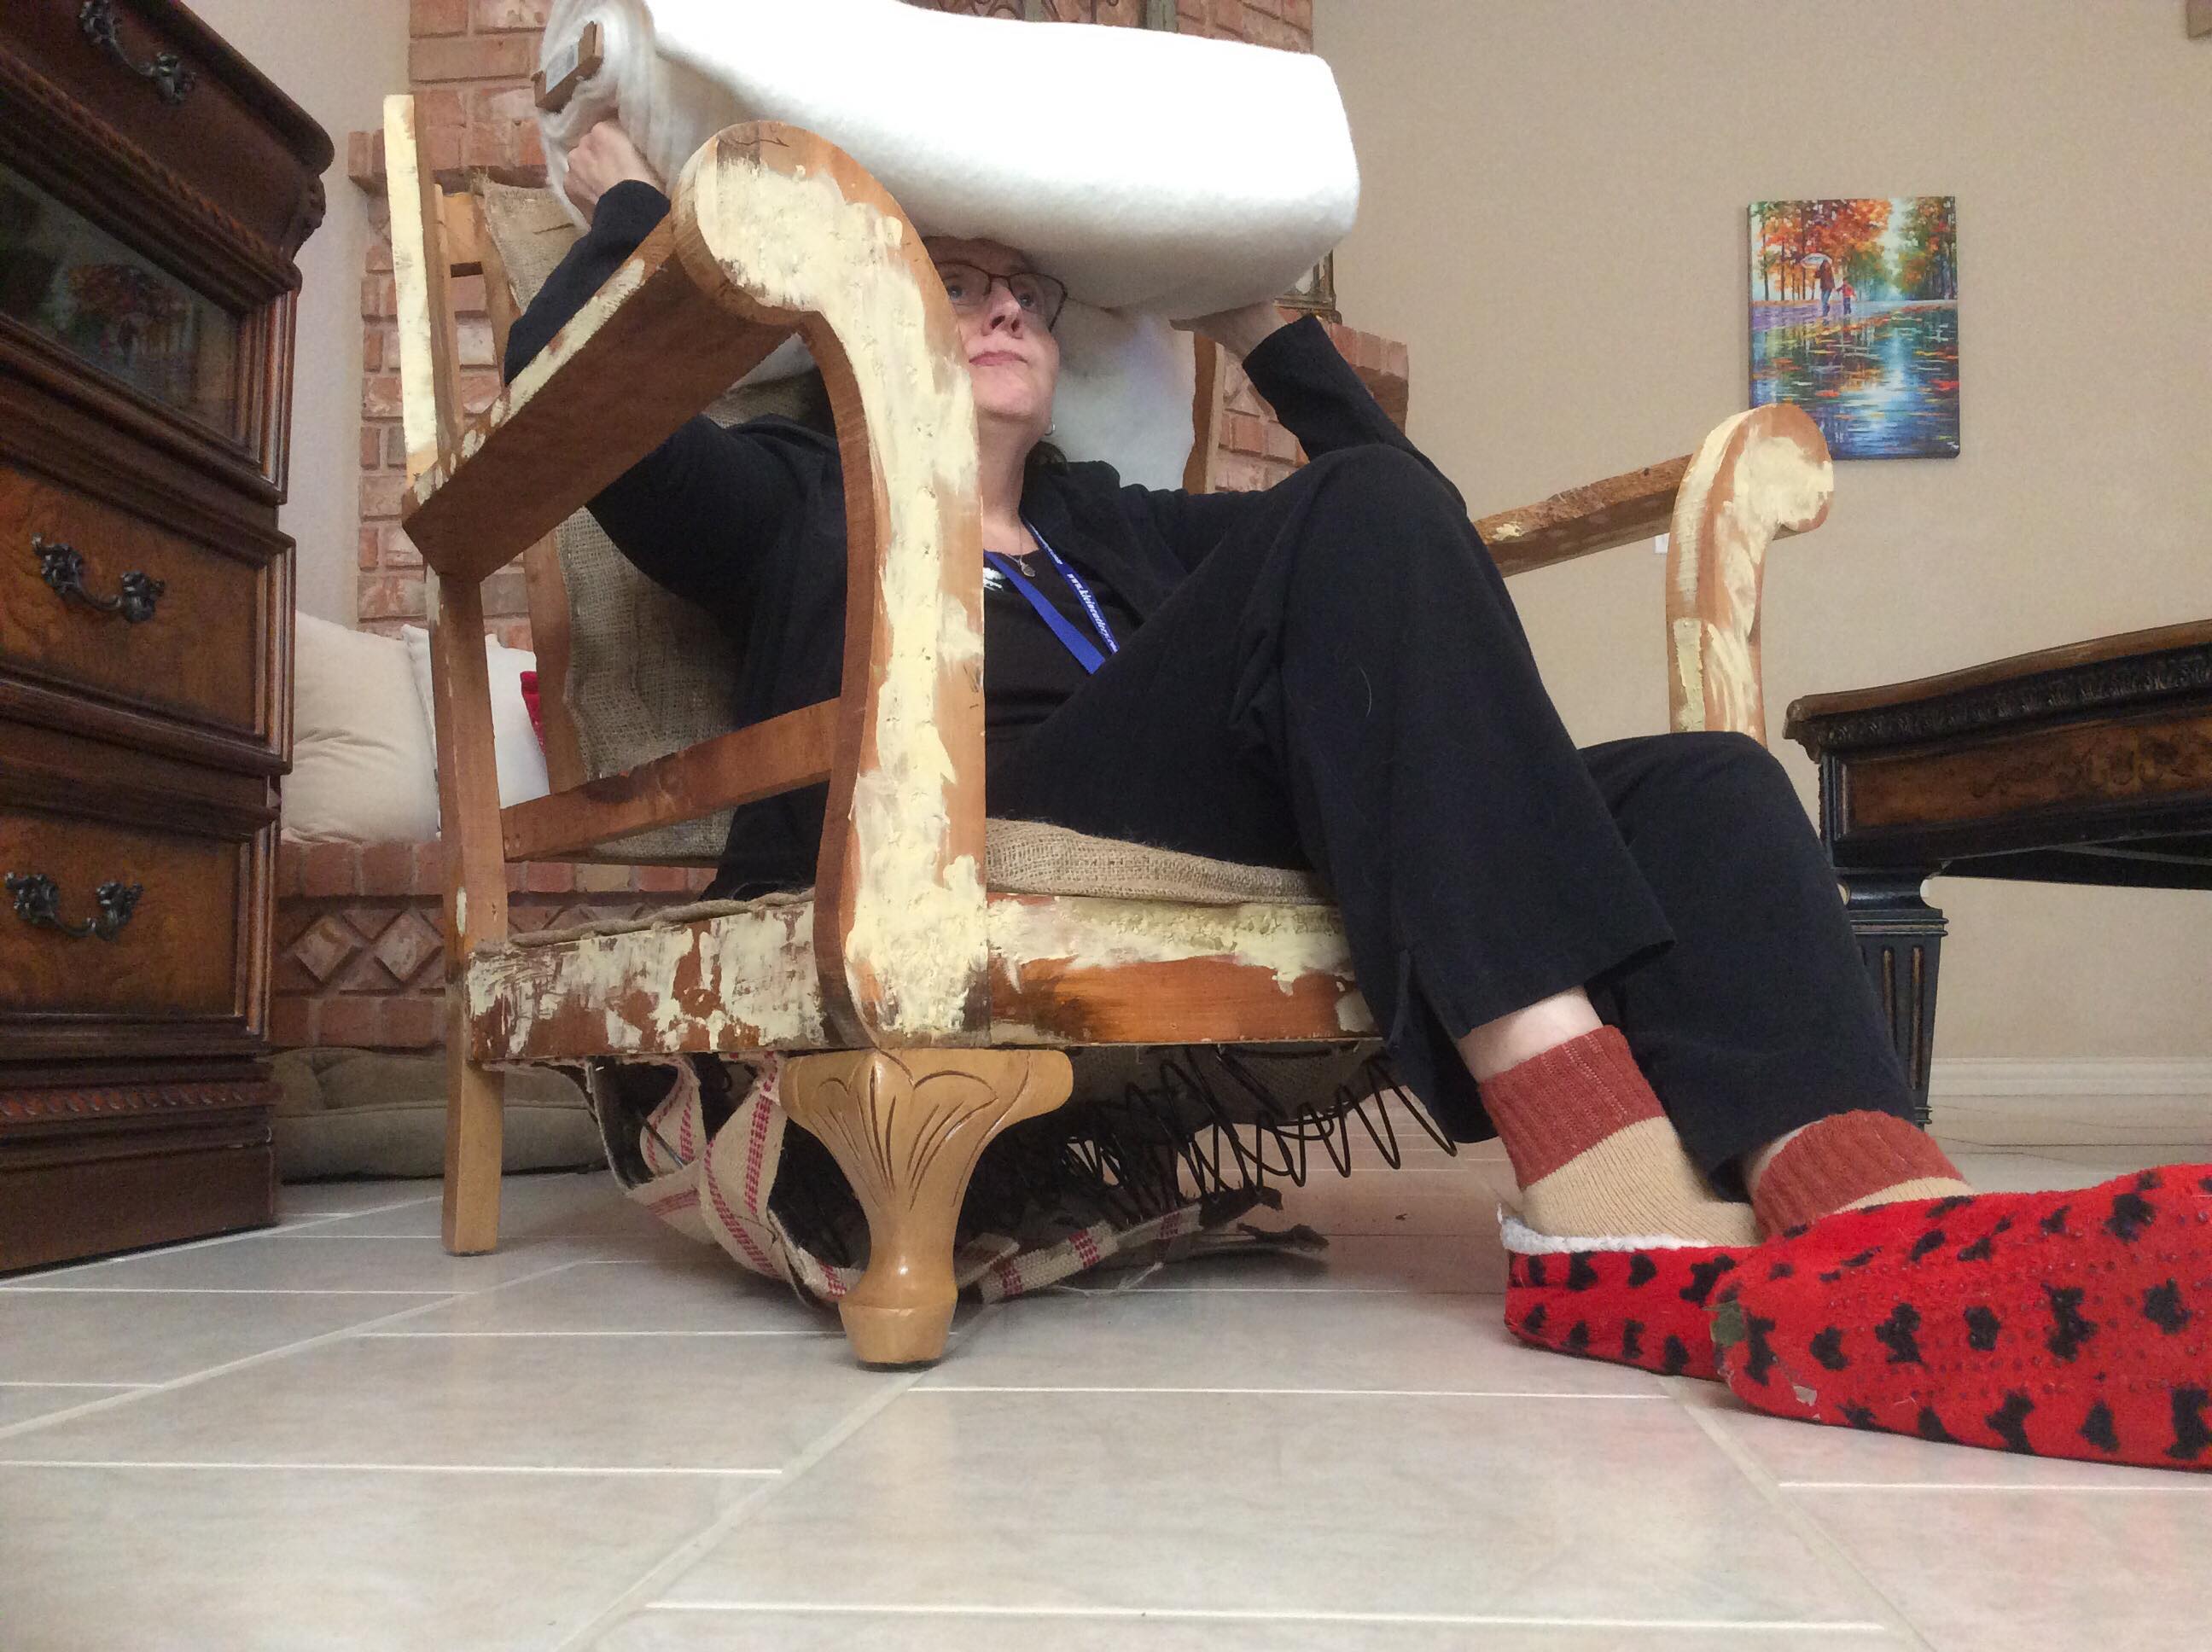
The guys and I are working on the Grays chair today.
It’s a wreck. I would have moved on had it not been for the fact that it was the Grays.
The Grays lived next door to us when I was growing up. They were “old” when I was a teen. So, you can image me when I returned with twins of my own 20 years later how “old” they were then.
The Grays doted on the boys and loved them like grandchildren of their own. So, when my mother offered the chair to me to reupholster, it was a no-brainer. They were special people, so the chair was special and NOT something the boys and I wanted to just “toss”
And of course, the “boys” have grown into “guys” … and they are learning the “arts” the hard way … Hands On- LOL
The Gray’s chair; however, has more glue and wood filler than wood at this point. LOL But, like I said, not a loss to toss, so the guys tied all the springs in place.


Now that this is done, we can move on to putting new burlap back on.
As you can see, we have been receiving lots of additional assistance today.
The burlap inspector stopped by first.

And, we just had a visit from the construction inspector.

Since both inspectors have given the “all right to proceed”, the work goes on ……….
~~~~ Next day ~~~~
Last night, we finished the burlap base for the chair.

And, of course, first thing this morning, the burlap inspector was back.

I think that construction foreman was on the take!!!
I sat down to see how much padding we needed, and the whole bottom fell out!!! LOL


That wood I tried to fill just is too rotten, which is why they likely didn’t fix the chair properly the first time. So, we are going to use Jen’s circular hand saw and build a support system like they did on another board.

2nd board there held fine…….
But, that will be another day.
….And, so it goes back into the garage until we get back to it next weekend.
However, since we 4Texas Sisters share our experiences with each other and our Mom in a Messenger chat group, Mom came back with a few questions and observations.
The board is going to hold the springs up from the bottom that are showing a “large droop” in the earlier pic with “worker” taking an unauthorized rest period, or are you taking the springs out entirely and just use fit to size board?
That chair is really old to begin with. Think they said it originally belonged to an aunt.
After a little contemplation, I’ve decided on Plan B.
We will reinforce each board with another board and see if that holds.
Plan C will involve breaking it down to create a pattern for when we have a better workshop.
Will let you know how it all works out …… in another post.
Love,
Shari
by Shari | Blog, DIY, Furniture, Our Art, Shari_T, Transformations
Today in Shari’s corner of Texas…
I know the holidays are when most of us think about traditions. It’s hard not to remember when the kids were young, or the smell of food cooking in grandma’s kitchen. Ah, now I want my grandmother’s cornbread dressing.
However, for today, I’m talking about the more day-to-day traditions, and passing on skills that may be lost if we don’t make the time to share them with our youth. It is tough to get them to step away from all the electronic distractions, but I have found that once they start working on something, and see it coming together, they also begin to enjoy it. Okay, maybe not always, but more often than not.
A few years ago, I ended up scoring a chair that once belonged to my grandmother. It was long past the need for a makeover, so I decided I’d learn to reupholster so I could make it something she’d have loved.
Here’s how it looked when it was given to me:

Okay, the cat did not come with the chair. 😉
Her favorite color was purple, and she was a fun woman, so my choices of upholstery ran along those lines.
Here is how that vision manifested itself:

.

.
By no means a perfect job, but I still love it, and I know she would, too. I can imagine her sitting there as I write this.
I found reupholstering furniture to be something I enjoyed. It’s tough to find people who do this anymore, so being able to do it for myself gave me a sense of accomplishment. More importantly, I get to decide how it looks in the end.
Today, I’m teaching my sons how to reupholster a chair. Sure, they may never do it for themselves, but maybe some day they will simply because I took the time to teach them to do so.

.

Of course, I can already hear the arguing over who gets to sit in it.
We all know that answer to that:
MOM!
This holiday, give your family the gift of yourself; it is the most valuable gift you can give them – ever!
Love and best wishes to all,
Shari


