by Shari | Blog, DIY, Furniture, How To, Our Art, Shari_T
The guys and I are working on the Grays chair today.
It’s a wreck. I would have moved on had it not been for the fact that it was the Grays.
The Grays lived next door to us when I was growing up. They were “old” when I was a teen. So, you can image me when I returned with twins of my own 20 years later how “old” they were then.
The Grays doted on the boys and loved them like grandchildren of their own. So, when my mother offered the chair to me to reupholster, it was a no-brainer. They were special people, so the chair was special and NOT something the boys and I wanted to just “toss”
And of course, the “boys” have grown into “guys” … and they are learning the “arts” the hard way … Hands On- LOL
The Gray’s chair; however, has more glue and wood filler than wood at this point. LOL But, like I said, not a loss to toss, so the guys tied all the springs in place.


Now that this is done, we can move on to putting new burlap back on.
As you can see, we have been receiving lots of additional assistance today.
The burlap inspector stopped by first.

And, we just had a visit from the construction inspector.

Since both inspectors have given the “all right to proceed”, the work goes on ……….
~~~~ Next day ~~~~
Last night, we finished the burlap base for the chair.

And, of course, first thing this morning, the burlap inspector was back.

I think that construction foreman was on the take!!!
I sat down to see how much padding we needed, and the whole bottom fell out!!! LOL

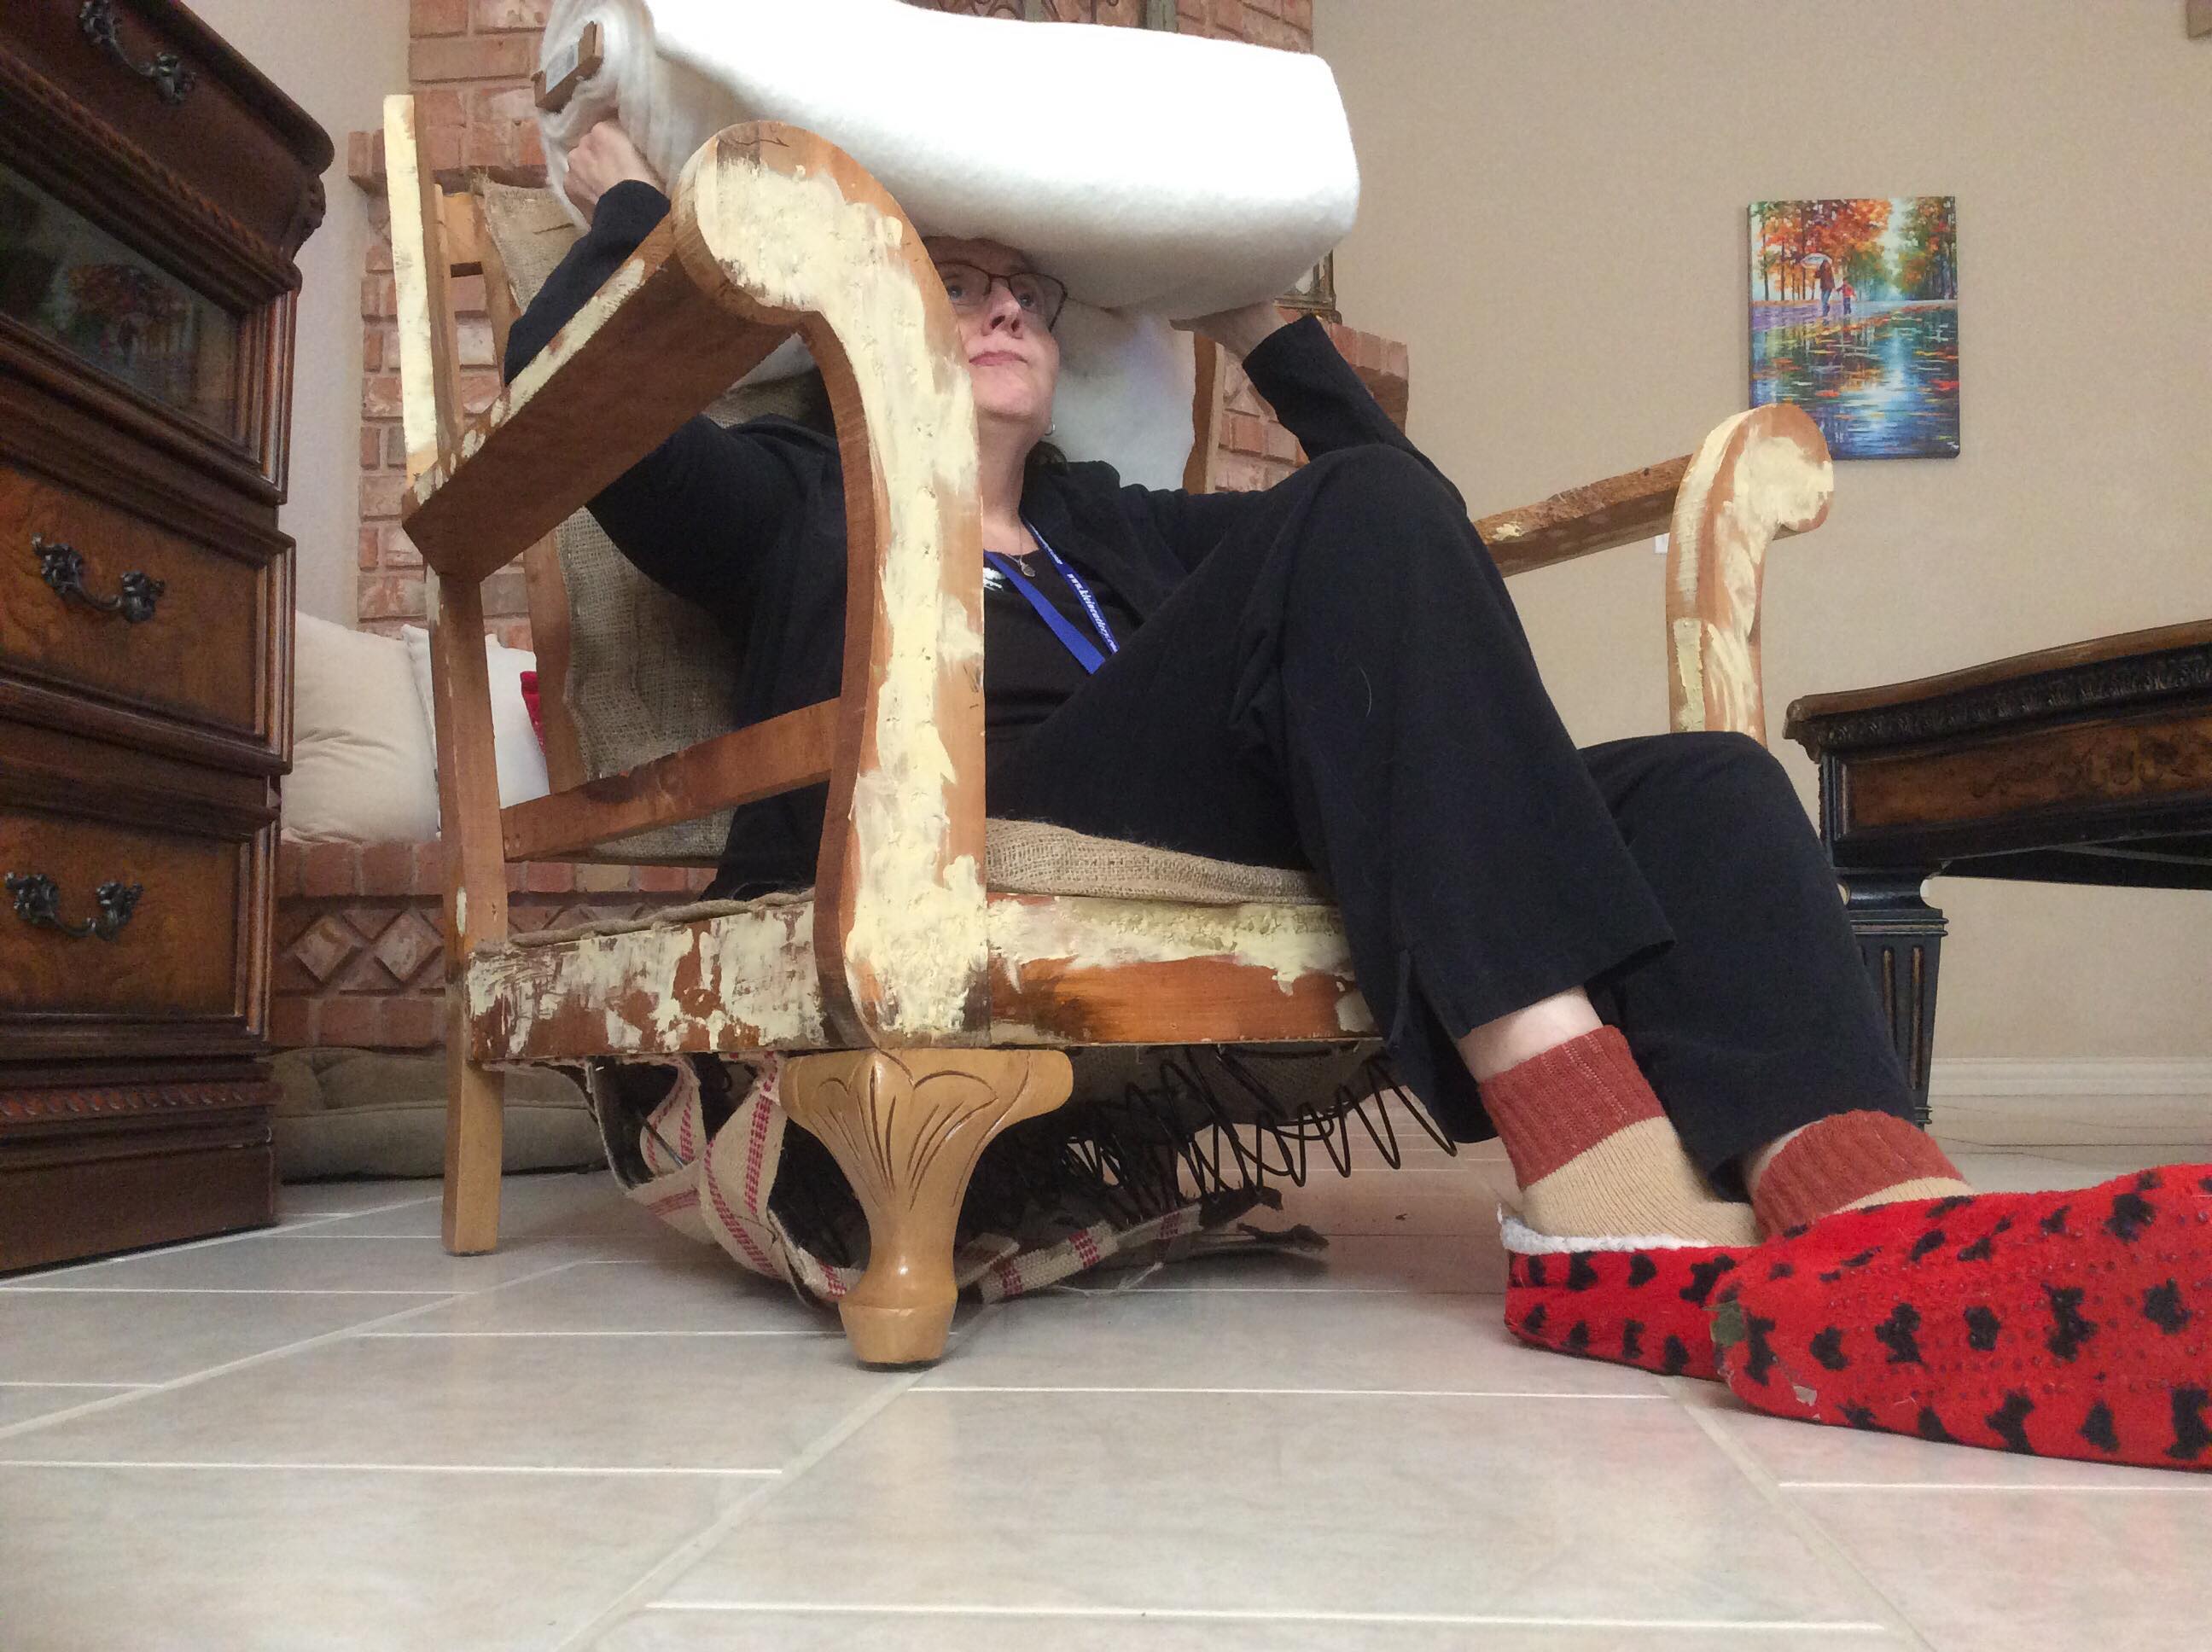


That wood I tried to fill just is too rotten, which is why they likely didn’t fix the chair properly the first time. So, we are going to use Jen’s circular hand saw and build a support system like they did on another board.

2nd board there held fine…….
But, that will be another day.
….And, so it goes back into the garage until we get back to it next weekend.
However, since we 4Texas Sisters share our experiences with each other and our Mom in a Messenger chat group, Mom came back with a few questions and observations.
The board is going to hold the springs up from the bottom that are showing a “large droop” in the earlier pic with “worker” taking an unauthorized rest period, or are you taking the springs out entirely and just use fit to size board?
That chair is really old to begin with. Think they said it originally belonged to an aunt.
After a little contemplation, I’ve decided on Plan B.
We will reinforce each board with another board and see if that holds.
Plan C will involve breaking it down to create a pattern for when we have a better workshop.
Will let you know how it all works out …… in another post.
Love,
Shari
by Shari | Blog, DIY, Household Cleaners, How To, Shari_T
I’m about to teach RP to make laundry sauce and I can teach you right now, too…So, let’s get to it.
Here is what you need.

You will cut the Fels-Naptha laundry bar in half.
Shave it and soak it in hot water overnight.
You will mix 1/2 cup Borax and 1/2 cup A&H super washing soda in your Ninja/blender with 1 cup boiled water.
I ended up with almost 2 cups but that is okay.
I’ll add less water at the end.
Here’s mixing the 2 powders with the hot water. I do this to help break down the crystals.

Next – Cut the gelatinous bar mix.

Add it to the Ninja/blender.
Add any essential oils, like lavender, now.
Then mix.

It takes a few minutes to start looking like whipped cream.
At this point, it’s all about how creamy you want it. Add water as desired.

That’s my first round. I will add about a half cup more of water and let it go.

When it’s to the creamy consistency that you want, it’s time to pour it into your container. Here’s my jar, all ready for another batch of laundry ‘sauce’ as I call it.

I don’t actually count the number of loads of laundry I do, but this batch will last me about a month and the cost, well you can’t beat the cost… Easy peasy to make and less than $1.25 per batch.
Once it is ready, you can begin using it immediately! I use 1 rounded tablespoon for most loads, but you can adjust according to size of load and the amount of “dirt” you need to remove from your clothes.
I made up a batch a few months ago to give the Jen and to our Mother. They both love it.
Now two things to note:
It is not sudsy like regular soap you buy, and you’ll need vinegar to clear the soap film from your Ninja/blender.
On the other hand, a non sudsy laundry soap is actually a bonus… And needing to wash your Ninja/blender out with vinegar isn’t a bad thing either.
So, mix some up and enjoy the difference in your clothes and the savings to your wallet.
Oh and a shout out to the site where I originally found the recipe: http://www.hometalk.com/12194185/laundry-sauce-easy-five-minute-laundry-soap-tutorial
Love,
Shari
by Jen_F | Blog, DIY, How To, Jen_F, Our Art, Pat_T, Shari_T
It’s been pretty busy for a while all around the 4TexasSisters households. Lots going on but not a lot we’d want to write about, ya know …lol
Though I’ve got tons of stuff to share about what’s been going on, I’ll just give a recap of what’s coming up. How’s that?
And since it’s always hard to know where to start when there are four of us, I’ll start with the eldest and and work my way down the sister chain.
Pat’s been grandparent sitting. First we had Ethan, now we also have the new addition… Elise. sorry, no pics right now, but maybe in the future. However, you can get a glimpse of Ethan if you go to bcalease.com. You could say he’s the Christmas cover story over there… OR you could just say “he’s adorable” .. either works. Am sure Elise will end up as a star over there in the future, but right now she’s barely 2 months old, so we’ll let her grow up a bit first.
Anyway, that’s not all that’s happening in Pat’s house.
She’s pulled out those rusty paint brushes and I have to tell you, this woman needs no warm up time… when she paints, she paints.
Check this out. Gorgeous, huh?

Keep up the good work, Pat. We look forward to seeing more soon.
So, moving from the Pat house to the Deb house… Deb’s been super busy too, and evidently is the real jet-setter this year as she gets ready to go on a cruise. Yep, she’s our cruise child for the year. lol
She’s been tearing it up with her embroidery machine and sewing machine, revamping her clothes and stealing some of the husband’s to make into her own.
Check out this man’s pair of pants that Deb will now be sporting as a skirt… all trimmed out.

She’s also been burning up that embroidery work, but I don’t want to expose ALL our projects in one post.
I didn’t get invited on this cruise, but I did get invited to babysit Harley, the wiener dog and there may be a t-shirt involved in this deal ( lol )so, I guess, I’ll go for door number 2, babysitting the dog.
Moving on, to … ME? Well, I’ve been busy getting my sewing corner set back up and burning up a few threads myself. This is a bedside caddy I made for one of my grand nieces who has headed off to her first year of college as of the end of August.

I have to say, I honestly had no idea what I was doing as it all came together. And I discovered what I’ve probably always known, but kept a secret…. I am a POCKET FREAK. That bedside caddy ended up with 2 main panels and a total of 15 pockets… which is the dream come true for people who want everything literally within arm’s reach. I think the only thing that won’t fit in one of those pockets is the kitchen sink.. However, there’s a spot for a water bottle, so that’s close. Huh?
Oh, and the fabric? Well, the main solid blue came from the grand niece’s great grandmother on her granddad’s side. There’s some solid blue jean fabric on it. That came from her great grandmother on her grandmother’s side. the blue glittery fabric came from my stash I’ve been carrying around since before I moved back to Texas from Florida. AND the denim Jeans pockets, well, err uh, a few came off the behind of a pair of my old jean shorts.
So, moving along… to last but not least of the happenings in our 4TexasSisters households… Let’s go see what Shari’s been up to.
Pumpkins and furniture.
I have to say Shari and Pat both bring out the décor for each season and holiday. Sometimes visiting one of their houses is like visiting fantasy land. lol Always, always, looks so …. seasonal… oh and awesome, of course.
And since Fall is in the air… Shari is making pumpkins… and pumpkins and…… more pumpkins.. here are just a few that are still in the works.

AND… she’s become our furniture upcycle gal…. Yesterday she and Ryan were caught working on the springs of a chair. ok, so Ryan was caught. I guess Shari had to take the pic. lol


And there’s more going on with all of us, but I’ll save that for another post.
So, in the mean time….
Live Every Moment, Love Beyond Words, Laugh Everyday,
~Jen
by Jen_F | DIY, How To, Our Art, Shari_T, Transformations
From tacky to happy……
Thought I’d share my recently completed transformation.
It was a sad 70’s or early ’80’s end table that had seen better days. My plan was to love it back into use as a pet kennel for Spirit.

The inner shelf was completely removed, as was the glass panel.
I used a blue chalk paint and followed that with a black glaze to give it its current look. It appears a dog may have “loved” it in the past as there were chew marks on the corners. I chose to embrace those rather than repair them, and let he glaze settle in those areas.

The glass was replaced by a piece of plastic which we had purchased when Zazzy the cat was little to protect her from falling off the balcony.
This plastic sheeting allows plenty of light and airflow.
The hardware was spray painted with a specialty black paint known as “hammered”. It helps hide any imperfections.

So, how did it turn out?
Of course, the real question is: did Spirit like it?
You tell me.

Love,
Shari
by Jen_F | How To, Jen_F, Musings
If you have ever tried growing an avocado seed in a cup of water, this post is for you.
Here’s our avocado.

This is the traditional method.
Insert 3 toothpicks into the seed, then place the seed in water

Here’s the other method which I think is great-
Wrap the bottom of the seed in a paper towel or
brown paper bag.
Moisten the paper. Insert the seed in the plastic bag,
close the bag, and then tape it to a window that gets plenty of sun.

Now you just wait and watch

On the right hand side is a seed that has already
sprouted. On the left had side is a new seed.
You never have to worry about adding water because the
moisture stays in the bag, giving the seed the constant
water it needs.
By the way, I’ve done this with Mango seeds also and have a cool Mango tree now growing in a pot.
Til the next time!
You’re never too young or too old… So…
Live Every Moment,
Love Beyond Words,
Laugh Everyday,
~Jennifer
by Jen_F | Fruit, How To, Jen_F
I love apples as a snack and so I’ll cut them up, put them in a plastic container and then snack from the container throughout the day.
This works at home, but when I’m traveling, I hate carrying that extra, really needless, container around, so I dump all my sliced apple pieces in a baggie and of course, by time I am ready to eat my apple, it’s turned brown.
I saw this somewhere recently and just had to try it –
You’ll need four things:

Cutting board
Apple Cutter
Rubber Band
Baggie
Wash your Apple

Slice it

Put it back together, then put it in your plastic bag and you’re ready to travel.

It’s great for kid’s lunch boxes too.
Til the next time!
You’re never too young or too old! So…
Live Every Moment,
Love Beyond Words,
Laugh Everyday,
~Jennifer


