Finding Clay a gift is always an issue. He has no real hobbies, unless you consider working or coffee drinking a “hobby”, so every year it becomes a guessing game as to what to get him for Christmas (or any other occasion, for that matter). This year, amidst the usual stuff for “work” like ties, shirts, fountain pens, etc. (yawn), I found an opportunity to give him something he’d never expect and actually needs.
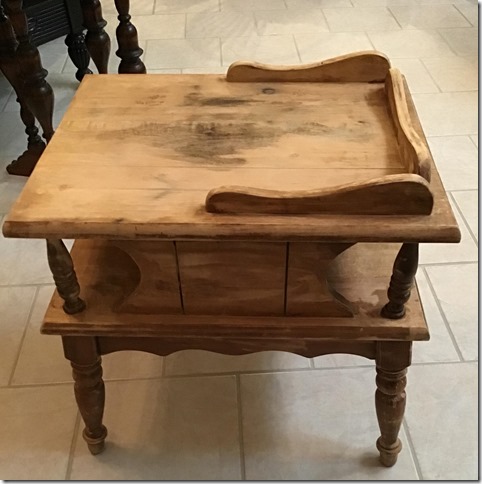
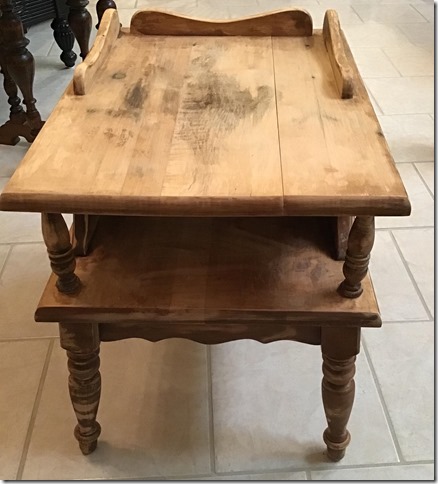
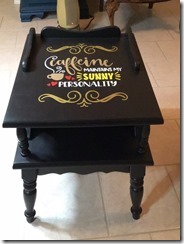
Daniel and I purchased a vintage end table a couple of years ago at Goodwill, but it needed more than we were prepared to handle at the time, so we set it aside. I have looked at the 1950’s dated table many times and wondered what possessed me to let Daniel convince me to buy it. It was so – ugly. But, he liked it and thought it was interesting, so I sprung the few dollars and figured we would work it out later.
About 10 days before Christmas, I realized that Clay was functioning without a real side or end table when not at his desk at his office. BAM! That’s when it occurred to me what he really needed was a true “coffee table” for his coffee cup.
And that, my friends, is how inspiration for an ugly table is (finally) born!
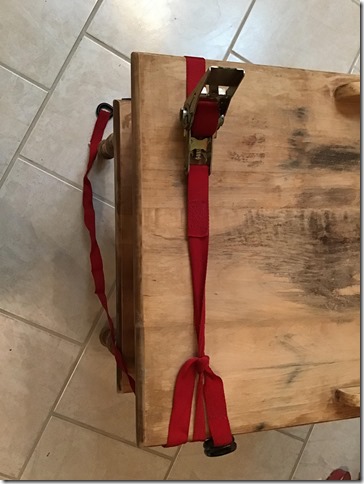
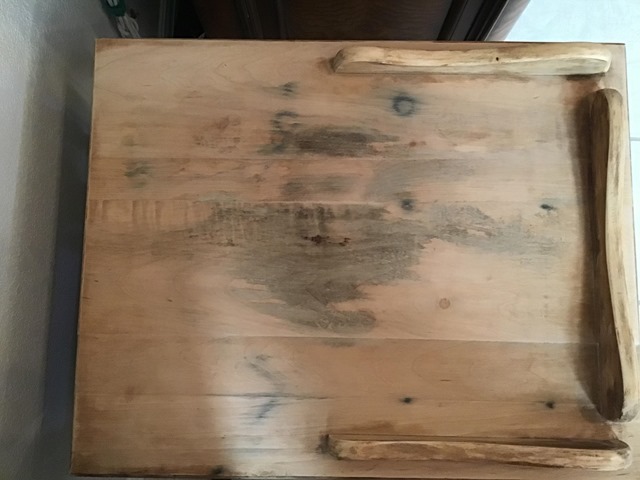
We didn’t have a lot of time, so Daniel and I got to work. He sanded the finish off the table, and we made a few simple repairs with wood glue, clamping and wood filler. The rounded edge of the table prevented us from using traditional clamps, so we fashioned one out of tie downs used on a truck. While Daniel was a bit skeptical of my makeshift clamp idea, it worked like a charm, and is another example of why you should never throw anything away.
After the repairs were made, it was sanded and thoroughly cleaned, and we began painting. It is not perfect, but that was not the goal for this project. It’s okay if a project isn’t perfect, as that is what provides character.
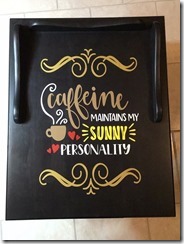
I always make my own chalk paint for large projects using a mixture of paint, calcium carbonate, baking soda and water. It provides a nice, smooth finish and allows me to use whatever color I wish, or have on hand. A few coats of the black, and it was already a better looking table! I gave it 24 hours to completely dry before the next step.
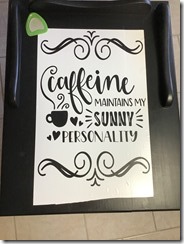
I am not an artist, so the design was created using my Cricut. I used two different patterns to create the one finally used, and then cut the pattern out of vinyl to create a stencil.
Once the stencil was applied to the top of the table, I simply applied three coats of paint, letting it dry overnight after the second coat. Then, I let the table dry 24 hours before applying 3 coats of matte sealant.
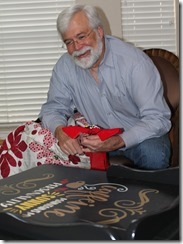
We kept it hidden until Christmas morning, when the guys snuck it downstairs. We buried it under a box and Christmas quilt rather than leaving it where he could see it. This way, we got to torture him with “what could it be?”
Clay said he thought it might be a new desk chair or something else, but never imagined anything like that!
Oh great- he needed a new desk chair. LOL
Love,
Shari


I know there must be a number of people already in line to be considered for this coffee table should Clay decide it didn’t fit his needs or decor. If all of them fall out of line, I know several others who would really like to be considered – or do you take “special orders” for something similar????? Trays, perhaps? Jars for coffee? Any other ideas similar coming down the pike?
Great job going from trash to treasure.
Thank you! This was such a fun project, and I’m delighted you enjoyed it! There are several other coffee and tea items coming down the pike soon, so keep watching for those.
We do offer special orders, which could include tables, trays, signs, etc., so please contact us if you see something you’d like to order.