by Jen_F | Jen_F, Musings
There was a period in my sewing life that my attitude was “if it has to be lined, I’m not making it!!!!”. Fast forward 15-20 years and now it seems “If it’s NOT lined, I’m not making it”. My, how attitudes change over the years.
If you’ve seen much of anything that I have made since getting back to one of my greatest passions, sewing, you’ll most likely, at some point, realize I line EVERYTHING. Just doesn’t seem to me that it’s a finished product if it’s not lined. But that causes other issues…
Since everything, or most everything I create is doubled by making a lining, and since mostly what I do is recycle or use vintage materials, finding sufficient lining fabrics can be a real challenge. So when Deb relayed to me in a Messenger message, “I found a box of lining materials. Would you like them?”
LOL, silly girl… did she even need to ask… like a dog begging for a treat, there I was … “yes … yes.. yes … bring the box with you when you come.”
So, the day came for her to bring Harley to stay with Aunti Jen while Deb and spouse, Dale, go off on a cruise for Christmas. Naturally I reminded her … “Bring the box of lining materials.”
I pondered all afternoon where I would store this box of precious materials… she said the box was fabrics from her mother-in-law … so it should be packed and lots of it… I’d stored materials from her mother-in-law for years and based on those boxes, I imagined it was probably this big.
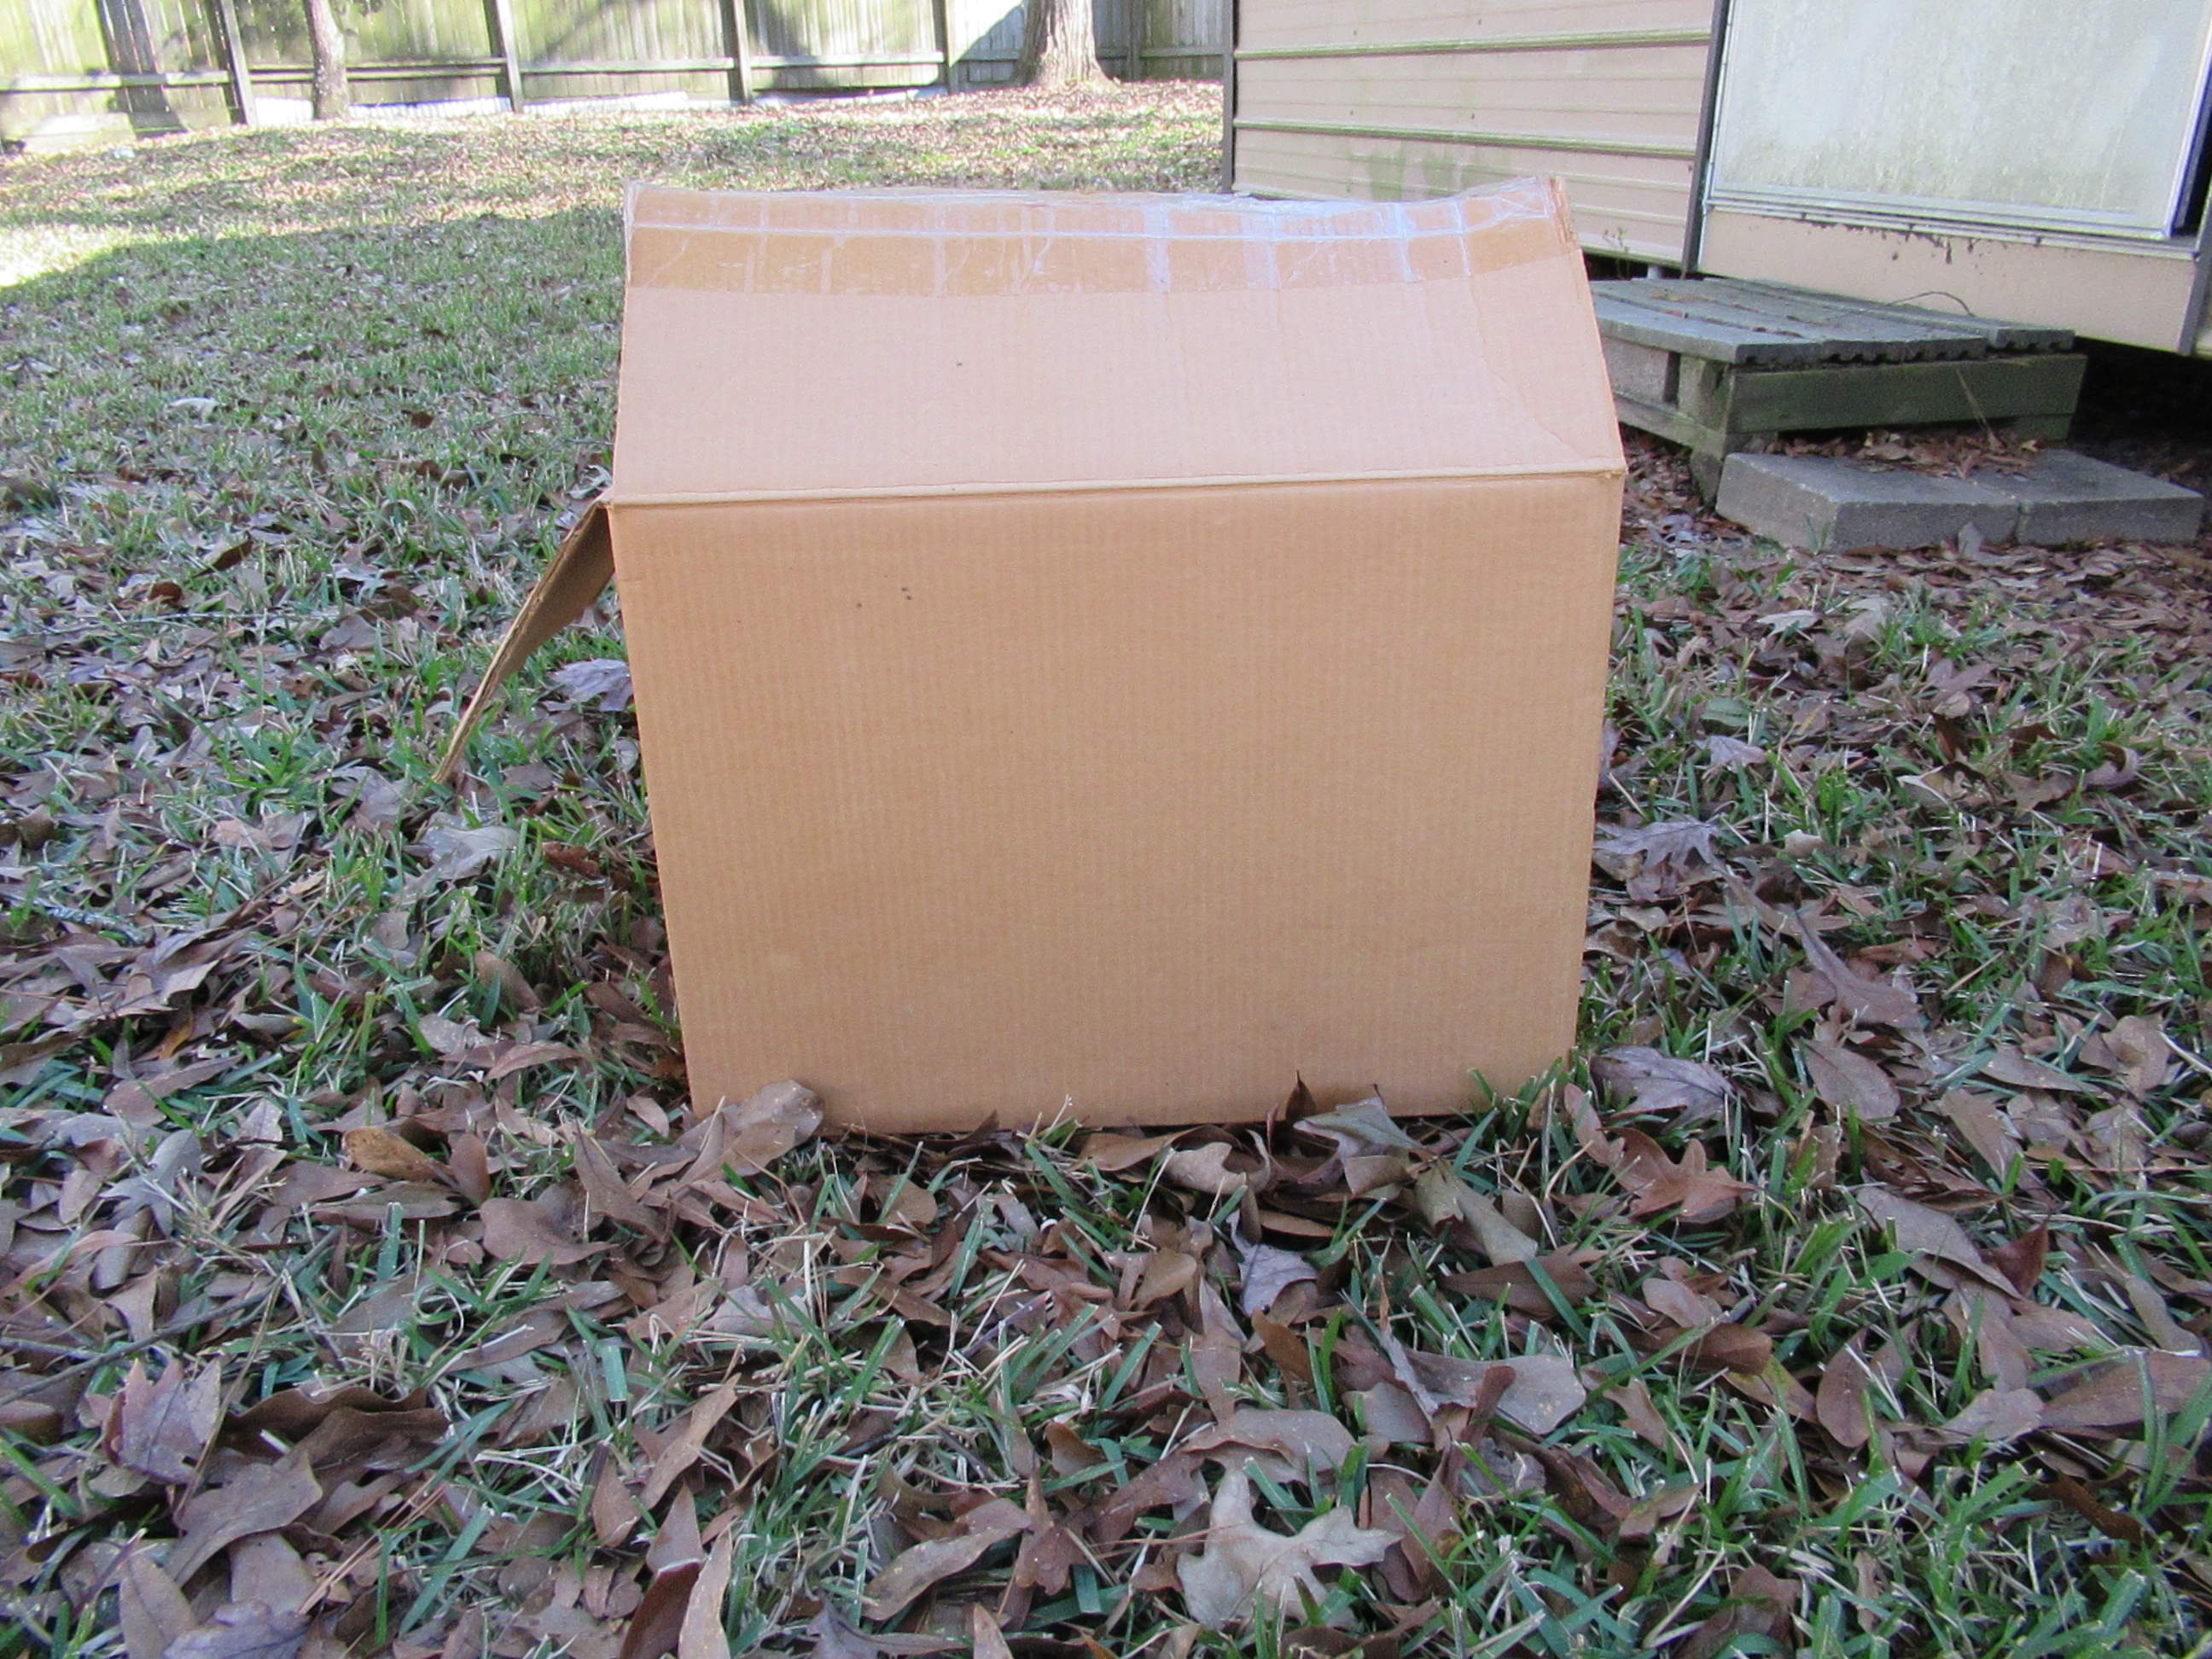
Or maybe a littler smaller.
Maybe something like this…..

Of course when they drove up, I was excited to see Harley dog, but more to the point… where is the box of lining materials?
…. SHE FORGOT THE BOX……….. WHAAAAAAAAAAAAAAAAAAAAAAA!
After being assured she would remember them when she came back to pick up Harley, even though I was a little disappointed, I understood. Things get really crazy when they are trying to head out for a trip. Patience, grasshopper, I told myself……. So, I waited…. and waited ……
They went on their cruise, did a day’s worth of resting up then were heading back down here to retrieve their precious Harley and I was just sure I was headed for excitement city, finally getting this windfall of lining materials in to my now, hot, sweaty with anticipating, hands.
Somehow I managed to contain my anxiousness when I heard them drive up, but I was also working on something in the sewing corner when they came in, so I didn’t see the box. After a brief SECOND of polite convo, I popped the question.
“Did you remember the box of lining materials?”
Deb said, “yeah, it’s in the chair right there.”
Well, it’s not like I am ungrateful for the thought and the offer, but I’m gonna show you the box now and then… well, what could I say other than:
“WOW! Thanks so much. I really appreciate it.” (And to be perfectly honest, I am completely grateful.)
And with that note, I’ll just show you the box and make my exit.
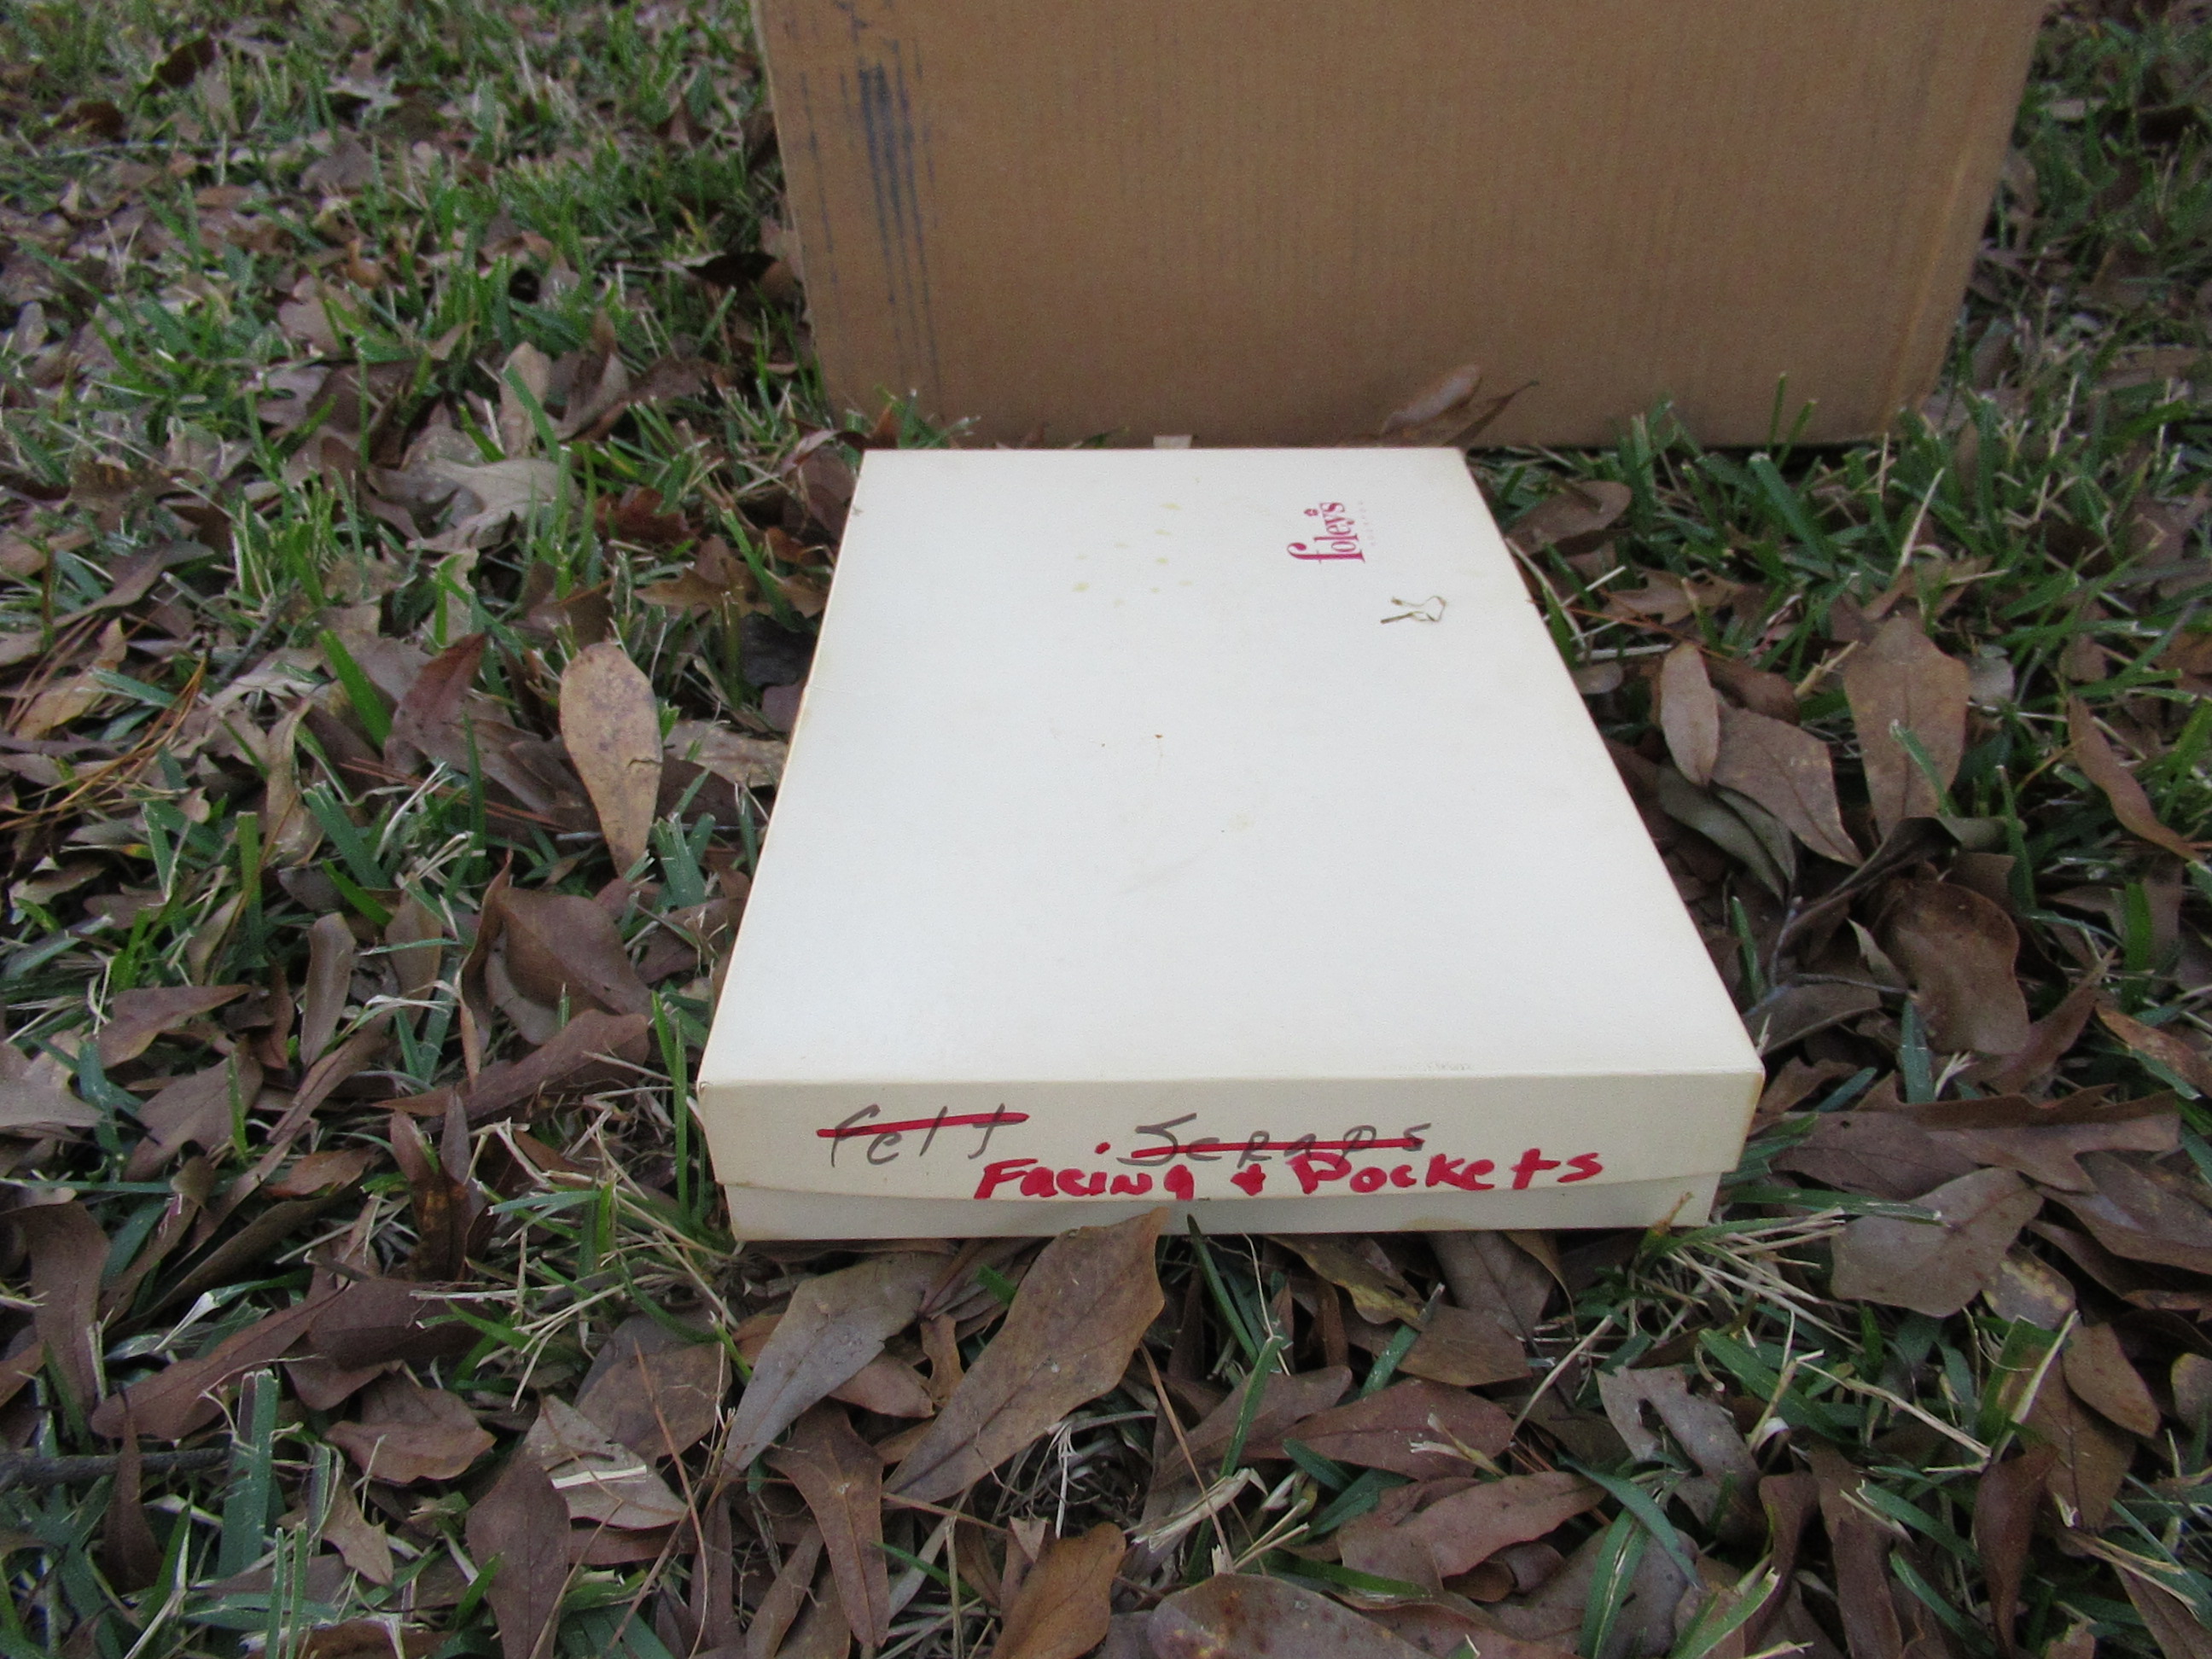
And to put it in perspective ……
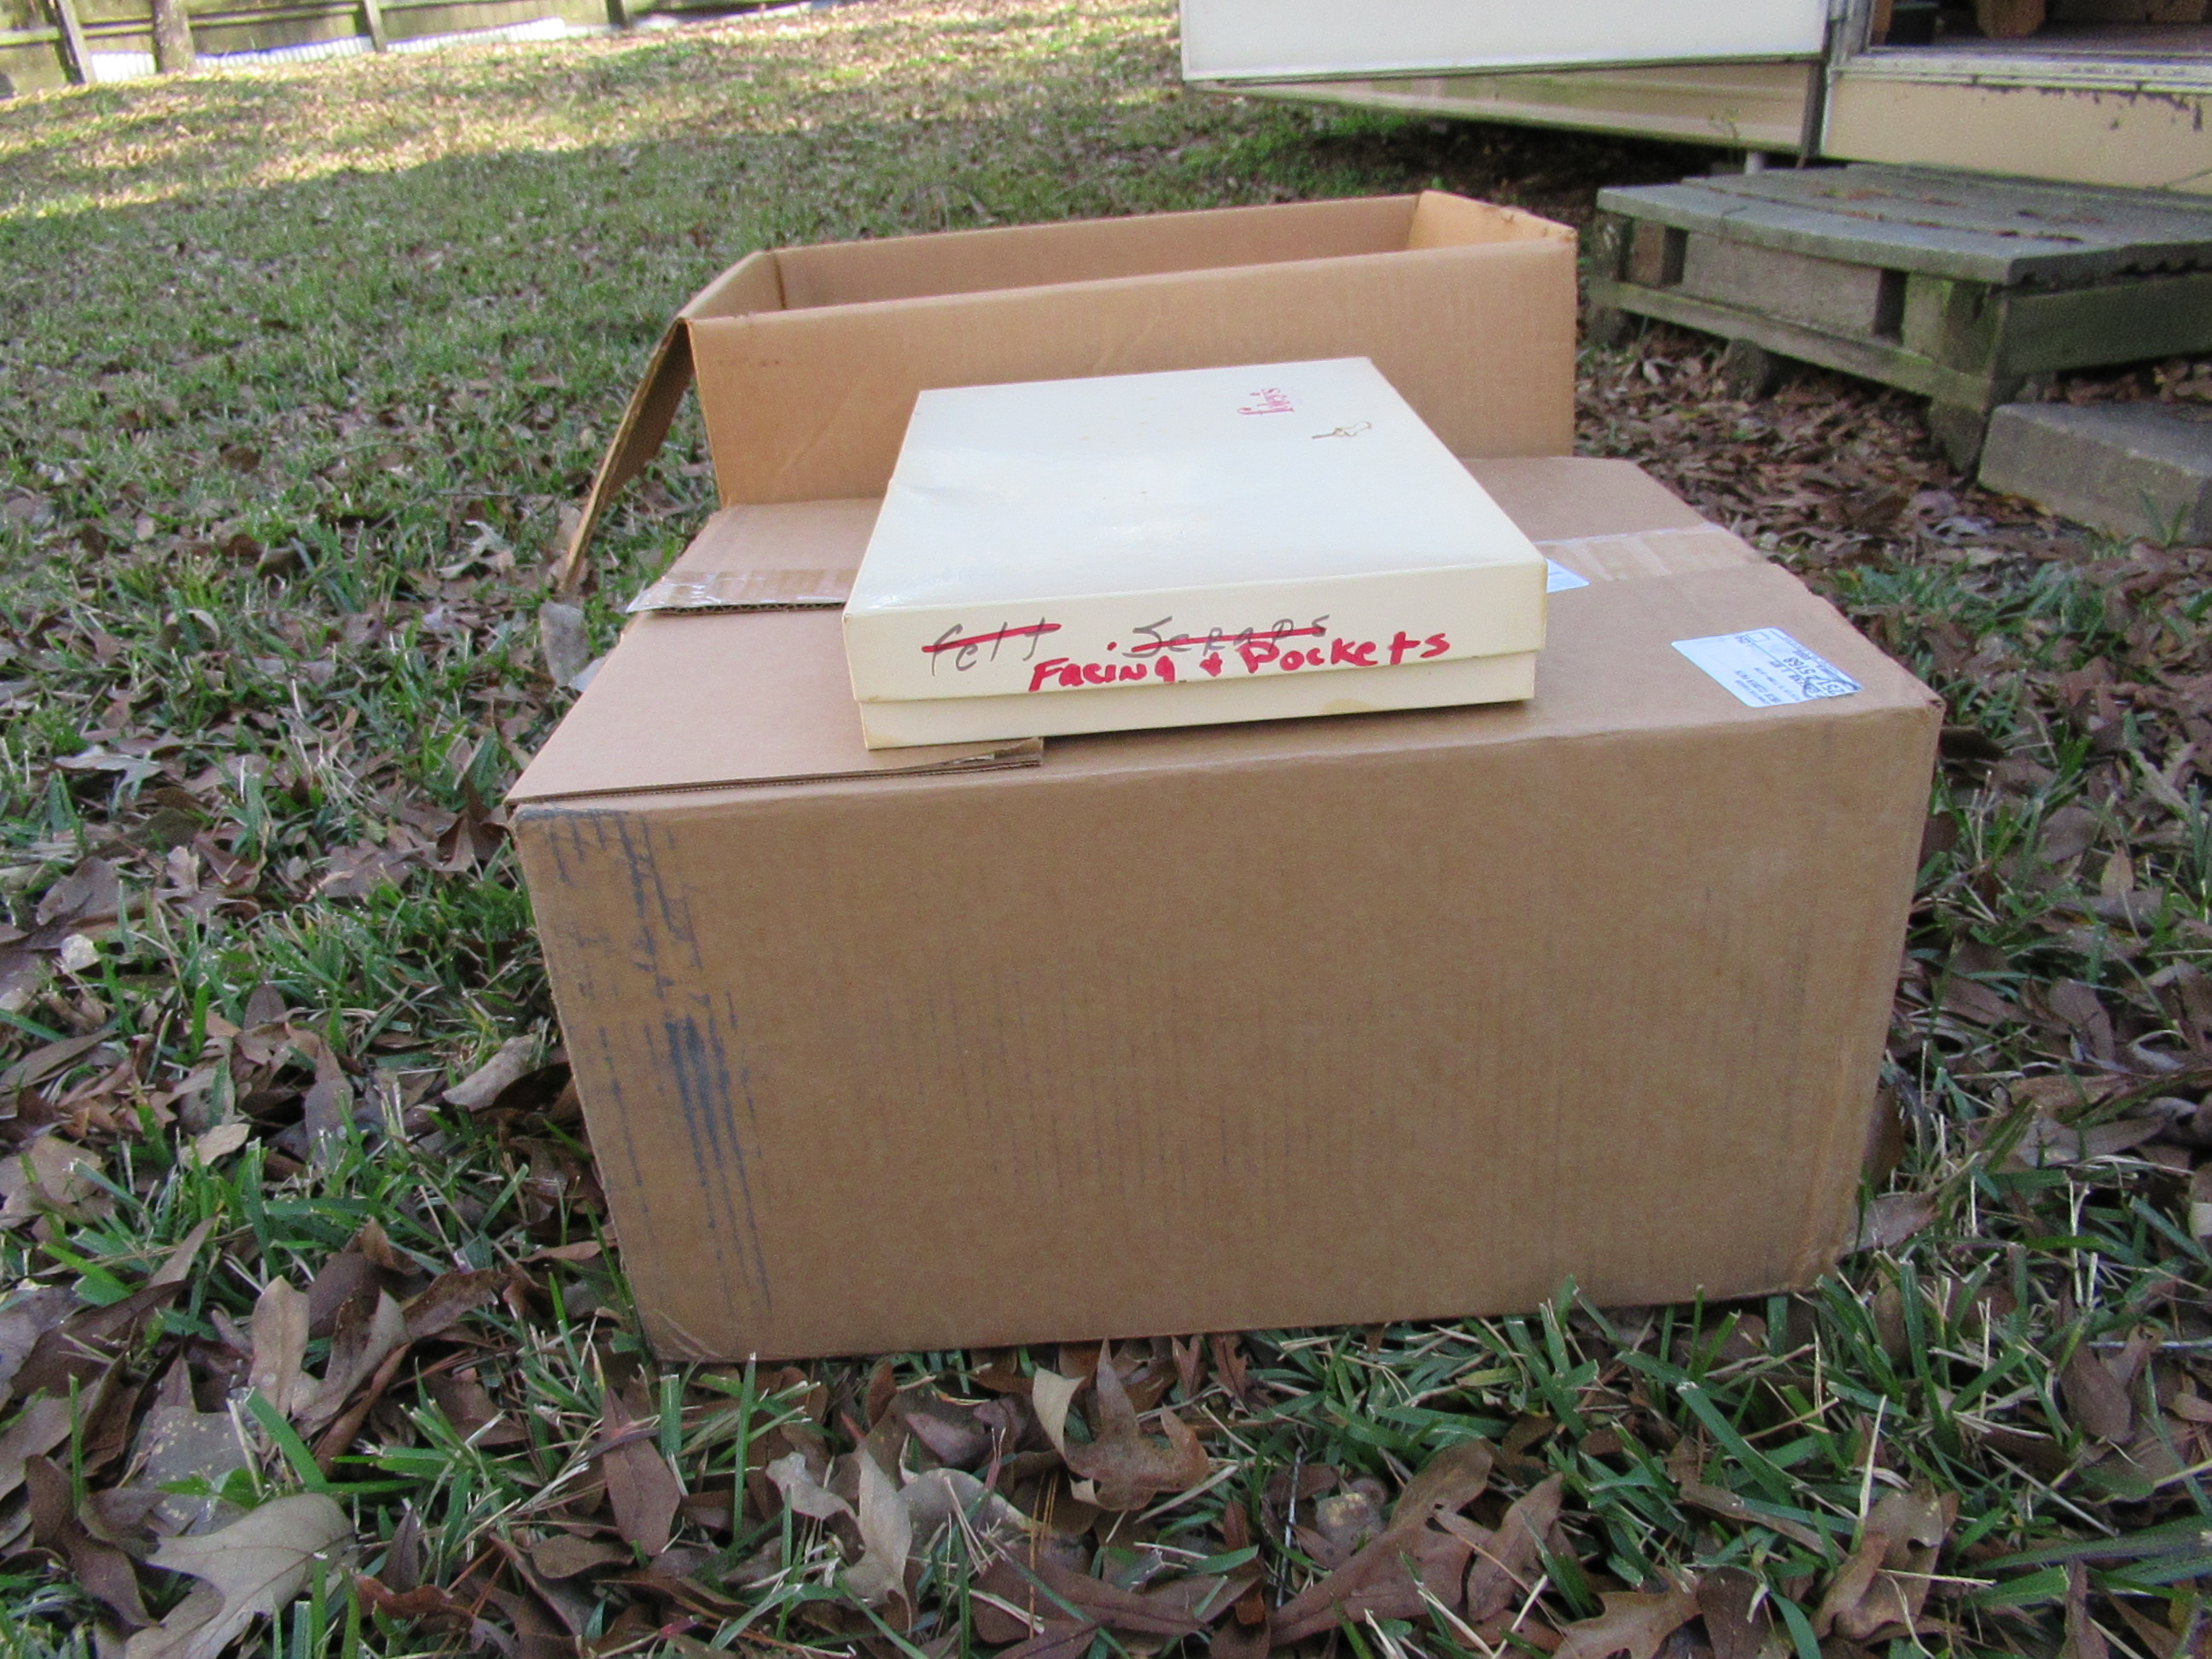
And now I’m off to use those 3 pieces of lining fabric. I have 3 6”x6” pockets that need a lining… this donation ought to work fine….
So, in the mean time….
Live Every Moment, Love Beyond Words, Laugh Everyday,
~Jennifer
4TxSisters at Etsy
Visit my Youtube Channel
by Jen_F | How To, Jen_F, Musings
If you have ever tried growing an avocado seed in a cup of water, this post is for you.
Here’s our avocado.

This is the traditional method.
Insert 3 toothpicks into the seed, then place the seed in water

Here’s the other method which I think is great-
Wrap the bottom of the seed in a paper towel or
brown paper bag.
Moisten the paper. Insert the seed in the plastic bag,
close the bag, and then tape it to a window that gets plenty of sun.

Now you just wait and watch

On the right hand side is a seed that has already
sprouted. On the left had side is a new seed.
You never have to worry about adding water because the
moisture stays in the bag, giving the seed the constant
water it needs.
By the way, I’ve done this with Mango seeds also and have a cool Mango tree now growing in a pot.
Til the next time!
You’re never too young or too old… So…
Live Every Moment,
Love Beyond Words,
Laugh Everyday,
~Jennifer
by Jen_F | Jen_F, Musings
When it came time to have a pet, I’ve always been inclined to want to have dogs over cats. I guess that’s because cats are typically more aloof than dogs.? Dogs seem to learn more “tricks” than cats, too.
Which reminds me of the time Mrs. Triebes (the lady who lived across the street from us in Bellaire) gave me a cat for my birthday. Mother let me keep it in the house most of the time, but things went awry when I made two HUGE blunders.
#1. I tried teaching the cat to sit in the kitchen.? Mother was evidently in the next room and got real tired of hearing me say “sit” “sit” “sit” “sit” “sit” “sit” “sit” “sit” “sit” “sit” “sit” “sit” “sit” “sit” “sit” The cat and I both ended up being banished outdoors for a while. LOL
#2. I thought the cat should eat some of the things I liked, one of which was cantaloupe. If you haven’t ever fed that to your cat, I can NOT recommend it. The cat got diarrhea and left little trails of it on the floor. Not GOOD! I might have been banished from the house to the yard again, but the cat was banished from the house permanently. Whaaaaa !
So, the cat and I spent all our bonding time outside until one day he didn’t come home. Another Whaaa !!!!
Life moved on and so did I.
When I came back to Texas in 2002, I brought my beloved Max and Daniel, two beautiful Shih Tzus, father and son respectively, back with me.
When hurricane Ike hit our area in 2008, we packed up and headed for drier ground in Austin.? We stayed there for almost a month and when we came home, guess what?? I had CATS! Not the household type cats; the wild wood type and because my house is up off the ground, they had taken claim to living under my house. A few years went by b efore we had kittens – 5 of them.. Several years more went by and they all seemed to have found another home. I suppose this is the case since I haven’t seen any of them in several years.
Well… all that changed in the last month. I have a new cat. I saw it laying out in the front yard a few weeks ago. Then I saw it coming out from under the house last week. I thought – hmmmmm. they must be back.
This one does not seem to be wild. the dead give away was when I found it sleeping on the back deck this morning, walked toward it a bit and then it ran up and wanted to rub all over my legs. all the while, purrrrrring away, thinking it was coming in with me.
NOT !
I must be a soft touch for the purring because eventually I decided, against my better judgment, to give it some milk.
LOL
Evidently this cat has more refined taste and has not switched it’s diet to non-dairy because it didn?t like the Almond Milk at all.? Actually that?s a bit of a relief since I shouldn’t be feeding it anyway. I don’t think it’s pure Siamese but definitely has a great deal of the breed in it.
Anyway, I eventually tossed out the milk, exchanging it for water and since I won’t let it come in, it’s taken to laying under the van.
Hopefully it will find its way home soon. If you’re missing a cat, it may be here.
Til the next time !
You’re never too young or too old! So…
Live Every Moment,
Love Beyond Words,
Laugh Everyday,
~Jennifer
by Deb D | Deb_D, Glycemic Index, Musings
What do you know about the food you eat & how the carbohydrates in it affect your body?
As a society, we are eating more & more carbs without increasing our activities. This is a formula for disaster for us! More & more of us are becoming diabetic and NOT just adults!
As a diabetic, that means we can no longer have the sweet goodies, potatoes, rice, pasta, bread, etc., that we used to eat. So, I ask again, what do you know about the food you eat & how does it affect your body?
I found this really neat site from “Self” magazine!
http://nutritiondata.self.com/topics/glycemic-index
There is good general information about diabetes & how the food we eat affect us.
Hope this helps someone!
Love always,
Deb
by Deb D | Deb_D, Musings
After our last meeting at Shari’s house, I came home with goodies from Shari glucose, glycerin, fondant mat (returning), recipes, & lots of ideas. I was going to try to make her wedding cake again, hopefully with different results… lol.
I decided to make a French vanilla cake (since Dale bought me two boxes of that particular cake mix) and was trying to decide what to use for a filling. Shari went to great lengths to create fillings & icings & wonderful tasting cakes when we did our last tasting, so I felt that I had to come up with something & not just plain frosting for all layers.
I browsed the internet & looked in the pantry & found some dried peaches & apricots (bought to make some Lara bars with). I made apricot/peach Peach Schnapps puree with the fruit. Next time I do it, I will either make a syrup to go with it or buy preserves. I really wanted something that would kind of soak into the cake. You can barely see the puree for the spatula in the container.
I made the cakes, split & leveled them & froze them to await their shiny coat of fondant. Of course, I had to put on a crumb coat before the icing & before the fondant but I am getting ahead of myself.
This was the first cake that all the fondant was homemade! Shari sent me home with a fondant recipe for Marshmallow Fondant with a variation for a white chocolate one. The recipe can be found here http://www.thebakingbeauties.com/2010/10/homemade-fondant-that-tastes-like-buttercream.html
I sifted the powdered sugar again because sometimes lumps are created during packaging & shipping of the sugar.
I melted the white chocolate, then melted the marshmallows in a bowl, with some water, in the microwave.
I added the melted white chocolate & then poured the liquids over the powdered sugar as the mixer (with dough hook attached) started the process of mixing the ingredients together.
(My fondant work station – the kitchen table).
When the powdered sugar was nearly incorporated into the fondant, it was time to start working it by hand.
I had some trying times working the fondant & realize that I probably OVERWORKED (or worried) it. I have discovered that if I am still kneading it after a couple of hours, it’s time to stop, let it rest, call it a day, and revisit it tomorrow!!! I didn’t get any pictures of covering either of the cakes, but here is the bottom layer all covered & it was so beautiful, I almost cried!!!!!
HINT: I did find that if I stuck the fondant into the microwave & set the timer for 10 seconds, the fondant was MUCH easier to work with.
After I put the cakes on top of each other, then I started the process of decorating the cake. It actually helps if you read the directions in the book (which I didn’t have last time!) on how to assemble the cakes. The two layers (8 & 10″) were split in half & puree was layered in between each layer of the cake and frosting around the outside to await the fondant.
After the fondant, and before the final decorations, I had to put pearls around the bottom of each layer. Now, pearls have NEVER been my strong suit-but I found that I can either make them the way most cake decorators do (lay the decorator’s bag @ 45 degrees & squeeze out frosting & drag it off the side – this doesn’t leave a little tip on the pearl) or I could do them still at a 45 degree angle but not drag them to the side. All I had to do was come back after the icing hardened a bit & lightly smash the point. Guess which one I did?
I really think they came out pretty good this time-more like pearls & not little disaster areas!!!
The final decorations consist of placing two stripes of icing down with some fondant ribbon mixed in. The photos above show how I marked the cake to get ready for the placement of the icing & ribbons.
Shari, if I can’t figure out how to have a steadier hand, we may have to have silver cord & burgundy ribbon.
All kidding aside, I have really had a blast learning to work with fondant. Jennifer even gets in the action by researching things like – how to get air bubbles out of fondant, where to buy icing colors & what kind to buy. I had a really good time even with all the imperfections of the cake – it tasted PRETTY GOOD! I will be taking half of the cake to Shari’s for our next sister’s week! Wish you could join us!!!
by Jen_F | Jen_F, Musings, Our Art
All things being what they are, even though I managed to bring my dressmaker’s body form back with me from my years in Florida, it’s a shy too small in some areas for Shari. (Let me backup to say at this point, it;s been more than a BIT shy small for me for years.) So, Deb went out on the Internet, did some research and learned that she could create her on body form using Duct Tape.
Yes, you heard that right- Duct tape, Texas Fix-it. What I didn’t know and what you may not know is that: (from Wikipedia)
The first material called “duck tape” was long strips of plain cotton duck cloth used in making shoes stronger, for decoration on clothing, and for wrapping steel cables or electrical conductors to protect them from corrosion or wear.
From there, over time, and for different need requirements, the face of Duck tape changed to what we use all the time and call duct tape.
Anyway, back to our regularly scheduled program…
The body form Shari is styling in the video and following out-take pictures is 3 layers. Technically you could say it’s 4 layers if you want to count the T-Shirt… but to talk just about the taping. First layer being applied horizontally, second layer was vertically applied and then the third layer was, again, applied horizontally all in short pieces in each layer.
What wasn’t shown in the video is cutting Shari out of it once they were finished. So just to cover that here, it was a process of taking the scissors and cutting straight up the back.
Deb’s plan, now that the body form is made, is to put it over the the commercial body form I brought back and then put stuffing in between. We’ll let you know how that all works out as we go through the process.
Here are the out-take pictures

Oh, and if you are wondering why, I, Jennifer Fisher, the video cam girl kept turning the camera sideways, it’s because I was testing out the camcorder Shari gave me and not even sure it was recording all the time. LOL. Think I’ve figured that out now.? 
Til the next time!
You’re never too young or too old…So…
Live Every Moment,
Love Beyond Words,
Laugh Everyday,
~Jennifer


