by Shari | Desserts, Musings, Recipes, Shari_T
I like to think of myself as a fairly open book.
Those who know me realize I’m blunt (although I prefer to think of it as “straight-forward”), game for most new things (just not chia), always up for a good laugh, and ice cream is its own food group, and as such, should be consumed as often as possible.
Ice cream is one of those things you just can’t live without, well, not in my house anyway. When Clay is home, he and I end each day with a slight indulgence into a dreamy, creamy spoonful of the frozen cloud. While we may not agree on flavors, or ice cream vs. frozen yogurt, we do agree all life should be this good.
I’m not terribly picky anymore whether it’s pure, traditional ice cream, frozen yogurt or coconut ice cream… As long as it’s creamy, I’m good.? I’ve actually managed to convert the guys to frozen yogurt rather than ice cream to help eliminate some of the excess (and bad for you) fat.
The biggest problem with frozen yogurt is actually finding one at the store that isn’t vanilla or chocolate. How boring and uninspiring can one be with the flavors?
So, it’s not a huge surprise that I’ve been madly working in the kitchen to create some frozen treats of my own. Most of my recipes have been with Greek yogurt, but a few have been made with varying types of coconut milk.
When Deb and Jen were here, I naturally wheeled out my new coconut lime yogurt to try with them. I know Jen is watching her dairy intake, so I only made frozen yogurt one day.
To get into the spirit of things, I’ve donned my “I get cranky without my Blue Bell” apron. While I refuse to acknowledge the possible accuracy of such a statement, I will admit that I’m always happier when ice cream’s involved.? After all, who wouldn’t be in a better mood with something so wonderful?

Start with 4 cups of Greek yogurt; I chose Chobani. Always pick a good quality yogurt, such as Chobani or Fage, for best results.

Add the zest of one lime (regular or Key lime is fine)…. The zest looks great against the stark white yogurt and adds flavor to the recipe.

Go ahead and add the juice of the lime to really give the yogurt that lime flavor.

Now, stir in 1/4 teaspoon of coconut flavoring, 1/2 cup of coconut (shredded or flaked), a pinch of salt, and the equivalent of 1 cup of sugar (I used a combination of Stevia and Agave).

Pour the mixture into your ice cream freezer and wait about 20 minutes.

I cannot even describe how luscious this combination of flavors is when it hits your mouth!
Deb mentioned that she didn’t think Jen liked yogurt because of the yogurt taste, but she loved this coconut lime combination. I can honestly say you will not know you are eating Greek yogurt because the coconut and lime are all you notice.
For those who are like me and too ADHD to scroll through the pictures for a recipe:
Coconut Lime Frozen Yogurt
- 4 C Greek yogurt
- Zest of one lime
- Juice of one lime
- 1 C Sugar (or equivalent)
- 1/4 tsp coconut extract
- 1/2 C coconut (shreds or flakes)
- Pinch of salt
Give this recipe a try, you won’t be sorry.
And, you won’t be cranky either.
Eat well, live large and enjoy the roller coaster ride of life!
Love,
Shari
by Shari | Desserts, Musings, Recipes, Shari_T
Today, March 12, 2013, Ryan reached another milestone into adulthood: it was his first day of his very first job! Ryan is the clerk at a bankruptcy law firm where I used to work, in what seems like another lifetime ago, and where his father is still employed. While being a clerk is not grand and glorious work, it’s a relatively cushy job for an 18-year-old who hasn’t even finished high school (don’t even start me on that one). It’s good to have parents with connections. 

For now, it is just 12-15 hours per week, while he tries to finish high school online. He and Daniel have been finishing high school online ever since I fell ill in 2010. We hope that as time goes by, he will be able to 1) finish school, and 2) turn this into a more permanent and full-time position while he decides what to do with his life.

I’m not sure he was excited about the job, but he was extremely happy with all the nicer new clothes. This is his favorite of the new outfits. When we came home from shopping Friday and he tried it on, he asked if he could just wear it the remainder of the day because it was so comfortable. Sure, why not? He’s really growing up: first a new, more mature hairdo, and now new, more mature clothing. It’s good to see progress!

To celebrate his new job, we had one of his favorite meals: turkey, cornbread dressing and giblet gravy. Not exactly on our healthier eating plan, but I did use coconut oil everywhere possible. Besides, I am trying to remember to live by the 80-20 rule: eat right 80% of the time, and don’t worry about the other 20%. We don’t live in a vacuum.
By the way, did you know that you can taste coconut oil in giblet gravy? LOL! Okay, so that wasn’t one of my better trade outs; back to butter next time for the roux for the gravy. Live and learn, live and learn.
And, as an extra special treat, we made homemade frozen yogurt!
So, even though I promised something other than another coconut recipe, I just can’t resist sharing this recipe I tried from making frozen yogurt, and none other than coconut frozen yogurt. I cannot give any one person, website, etc., a shout out on this one because it is everywhere on the internet. The recipe was so simple that I just remembered it, and don’t know exactly where I saw it first.
In making this coconut ice cream, I did notice that everyone was talking about using regular yogurt, then straining it for 6 or more hours to remove the liquid; or, as an alternative to use Greek yogurt. Now, to use the regular yogurt, you actually have to buy twice as much and lose the liquid.
One woman said she bought the regular yogurt because it was cheaper, but if I have to buy twice as much anyway, why would I do that? I can get 2 containers of regular yogurt (more hassle to prepare for freezing) for the same price as 1 Greek yogurt…hmmm…let me think…NOT!
My recipe assumes you will be using Greek yogurt.
3 Cups Plain Greek Yogurt (I used 0% fat Chobani)
3/4 Cups sugar or your choice of sweetener (I used Truvia blend)
1/2 Teaspoon Coconut Flavoring
1/4 Cup Coconut shreds or flakes
Place all ingredients in a bowl and mix well. Place in the refrigerator for one hour so the sugar will dissolve and blend into the mixture.
After an hour, place in your ice cream freezer and follow the manufacturers directions for freezing.

My freezer took 20 minutes to make a nice soft serve yogurt, and at 30 minutes it was quite stiff.

Doesn’t it look awesome? Well, it was! Sorry you weren’t here to share it.
I actually doubled the recipe so we could freeze the leftovers. I’m curious to see how hard it freezes in the freezer overnight.
So, perhaps next time I’ll actually share something that isn’t made with or from coconuts. But, don’t count on it.
Until next time, live loud, live strong!
Love,
Shari
by Shari | Coconut, Desserts, Musings, Recipes, Shari_T
It seems I have fallen behind on my postings, but things have been crazy around here. However, as Clay kindly pointed out, I say that as if it is somehow abnormal for life to be in a whirlwind in our house.
Okay, so I admit, life here is never exactly dull, but between injured possums in the garage, pushing vehicles down the street, preparing one of the twins for his first job (amazing how much there is to do to prepare for a job, and how much money it costs to go out and make money… lol), and the daily general wackiness of a house with twins (even if they are 18) and four dogs brings.
So, when I’ve not been running around like a mad woman, which is, admittedly, quite rare, I’ve found that I have become obsessed with all things coconut.
I’ve tried to move on, but I cannot: coconut pie, coconut cake, coconut candies, coconut oil, coconut cream, shredded coconut, coconut in my smoothies, coconut in my oatmeal, and the list goes on.
Which leads me to my first of several coconut confessions:
I’m a coconutaholic!
I’ve always loved coconut, but I was one of those poor souls who was raised to believe it was bad for you: full of fat and sugar. To some degree, this is true; the highly processed coconut sold in the baking isle of the grocery stores is full of fat and sugar, not to mention all the stuff I cannot pronounce.
But now, I’ve been introduced to numerous health benefits of pure, natural coconut, and have gone crazy trying to fit it into my daily life without creating a body as round as a coconut.
A great deal of my experimentation lately has been in learning to use purchased organic dehydrated coconut versus the fresh coconut we created last time Jen and Deb were here. The dehydrated shreds are a bit like straw, lacking the moistness you have with the fresh… Even the dehydrated fresh wasn’t as dry as the coconut you purchase.
When Deb and Jen were here, we found a wonderfully luscious recipe for healthy homemade Mounds candies at www.paleozing.blogspot.com. We used the fresh coconut that we had just processed at home, and there was a natural creaminess to the texture that I have been trying to recreate with the store bought organic coconut shreds.

For those who wish to use fresh coconut, here is the recipe as we made it:
- 1 Cup fresh shredded coconut
- 1/3 Cup coconut oil
- 3-4 medjool dates, pitted (or 6-8 regular dates)
- 1/2 teaspoon vanilla extract
- pinch of sea salt
- 1 Cup dark chocolate chips (we used Special Dark)
- Honey to taste (optional, if you are using regular dates as they are not as sweet as medjool dates)
Directions:
Step 1: In a small saucepan, heat coconut oil and coconut over low heat until the coconut begins to puff up. (Honestly, neither Deb nor I could figure out what this was supposed to look like, so we finally took it off the heat.)
Step 2: Place the dates, vanilla and salt into a blender or food processor (we used my Magic Bullet) and process until smooth and creamy.
Step 3: Mix the coconut mixture and the date mixture; stir in local raw honey or agave syrup for added sweetness, if needed/desired.
Step 4: Line a bread pan with parchment paper and pat mixture evenly into a bread pan and place in the freezer for about an hour, or until set.
Step 5: Melt the chocolate in the microwave in 30 second intervals, stirring after each cycle, until fully melted.
Step 6: Cut the candy into pieces (we made 24 pieces from our pan).
Step 7: Dip each piece into the chocolate and return to the parchment paper. Once all candies have been coated in chocolate, return to the freezer for 20 minutes, or until chocolate has set. (I actually do this in a 2-step procedure. I flip the block of frozen candy over and use a spatula to coat the bottom with chocolate, and then cut it into bars. I place it back in the freezer for 10 minutes, then hand dip the individual candies for the side and top coverage.)
Step 7: “ENJOY!” And, try not to eat all of it in one sitting. 

Next time, I’ll share my recipe for making these using the purchased organic dehydrated coconut shreds.
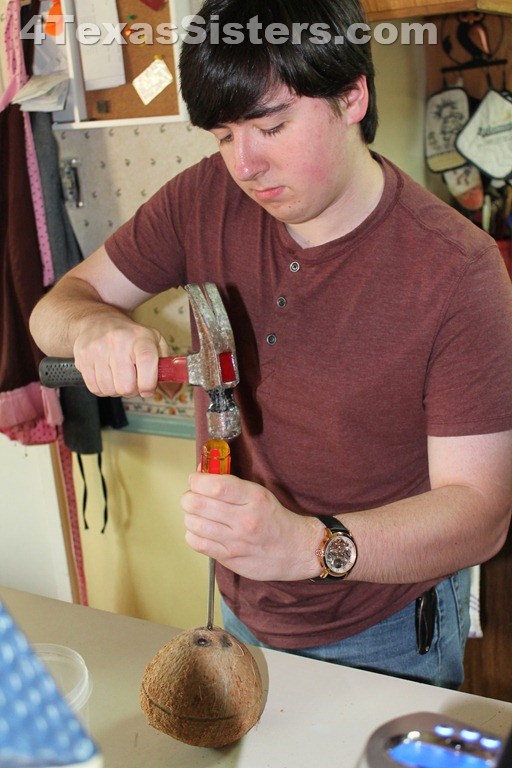
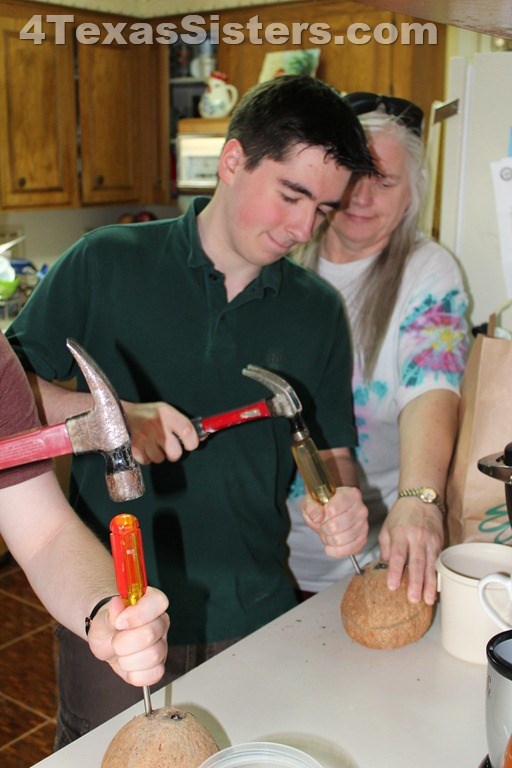
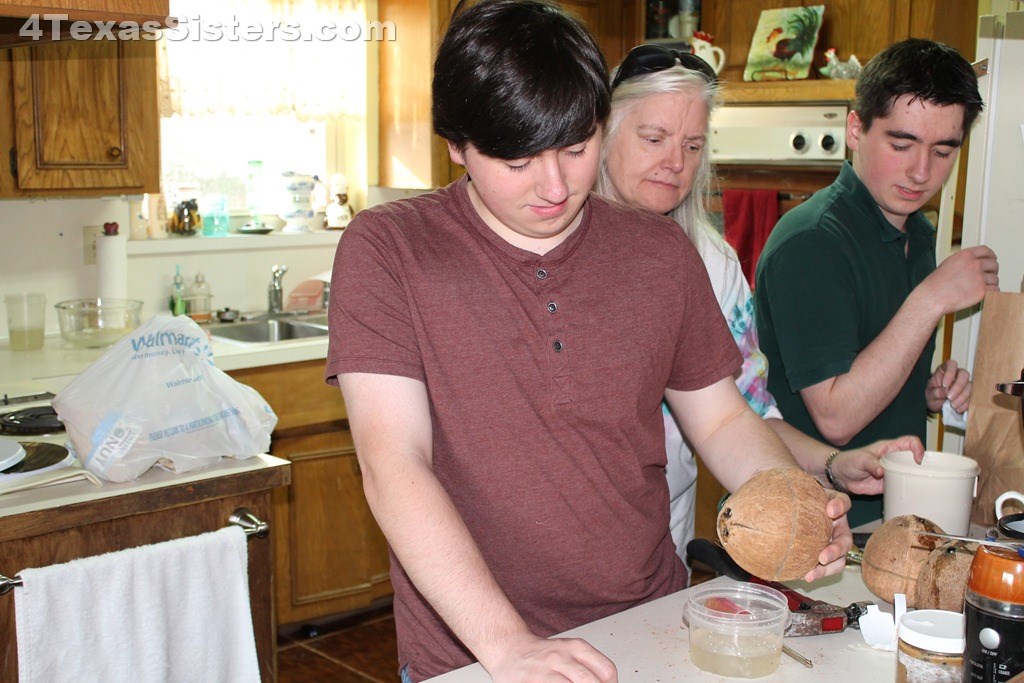
In my quest to recreate the texture of this original batch, and in generally working with purchased coconut, I came to my most embarrassing confession: I’d actually be willing to crack, hammer, freeze, scrape, shave, process and dehydrate fresh coconut with Jen and Deb a bit more often than when Hell freezes over for some of that luscious coconut meat.
So, until next time: eat well, enjoy life and live every day as if it was the most important!
Love,
Shari
by Shari | Coconut, Musings, Shari_T
Deb and Jen headed to Deb’s early this afternoon. We had a wonderful time experimenting with the coconuts, and we still managed to accomplish a few of the other things we had actually planned last time, like repairing a couple of quilts. Deb is the quilter; I have an aversion to all things sewing/needlework.
I am, however, trying to learn to do some basic needlework; I have just never liked it. Sewing, for example, has never moved me, at least when it comes to sewing clothing.
I see now, though, that there are some things for the house I’d like to be able to sew, such as pillows, tablecloths, etc. I’m trying to expand my horizons and try new things.
As for the coconut experience, I can honestly say that while it was interesting and amusing, I’ll be buying the finished products online in the future. That was just far too much hassle for my taste, as I just want to get to the business of putting it to use.
I have been warned that we will be doing it again at least once so Pat can participate. I can do that! I will have to be sure to mark Daniel’s and Ryan’s calendar for that week so they’re available to do all the “onerous manual labor.”
?? 

Actually cooking and/or baking with it was my favorite part. Okay, perhaps that was an overstatement: EATING the items we made was my favorite part! While I made the first evening’s dinner, Deb did the next two. So, I rounded out the meals by selecting the desserts using our coconuts.
Tuesday night, I selected a recipe for some healthy coconut lemon macaroons, which were to take about 30 minutes from start to finish. You can start laughing now, because they took about 2 hours! The problem we had was that Jen selected some fresh coconut that had not yet been dried to try to make our coconut cream. It went through 3 processors and well over an hour before we finally gave up and decided to use whatever we had.
Note for the future: do not try to make coconut cream out of fresh, undried coconut. While it might be doable, it just didn’t work out with the equipment we had.
The good news is the cookies baked up well and were a huge hit, even with the boys! They were wonderfully moist and chewy with a hint of lemon. According to Daniel and Ryan, that’s a recipe to keep and repeat. That pretty much says it all in my house. If I make them again, I will cook them until they have a light brown dusting on the coconut on top; I think it would make them completely divine.
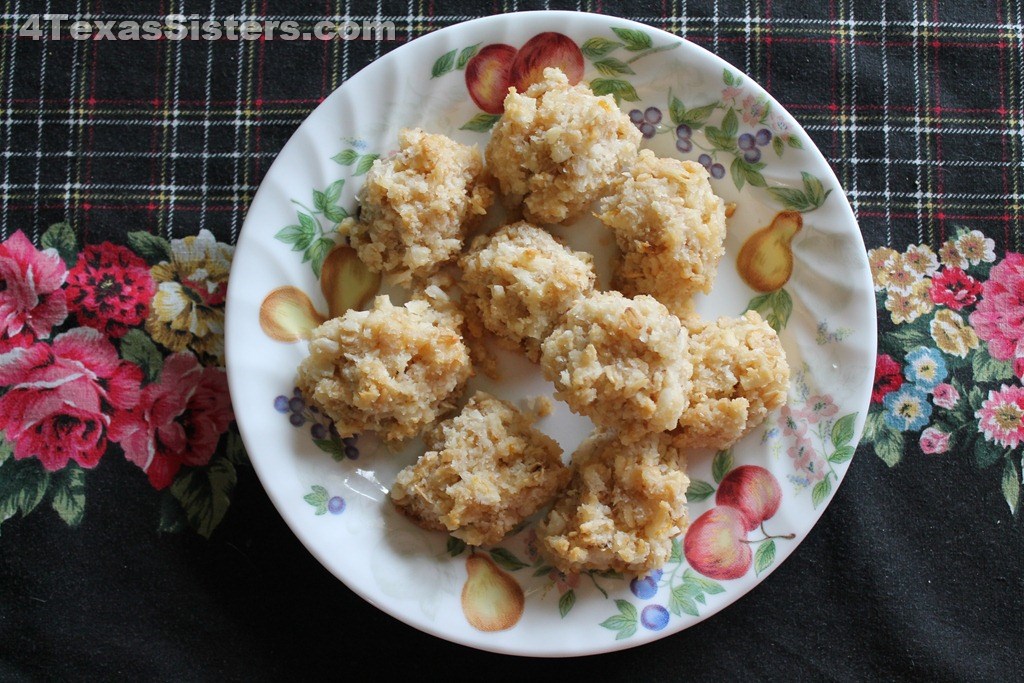
Give them a try; I think you’re going to love them, too!
What was the worst part of the whole coconut fest? How little was left after we baked with it! I have far too many things I want to use the coconut with for so little coconut in my cabinet.
My answer? I’m hording my fresh, homemade coconut for eating right out of the bag, or on oatmeal, etc. I’ll just have to find a good source for the coconut I’ll use in my recipes.
All this talk about food has made me hungry, so I think I’ll whip up some dinner with the leftover tomato/strawberry salsa and acorn squash Deb left from last night’s dinner.
Have a wonderful evening!
Love,
Shari
by Shari | Cricut Circle, Our Art, Shari_T
The challenge:
You can use any of the sketches from
the magazine or blog to create a card,
layout, decor item, or whatever else you
are inspired to make.
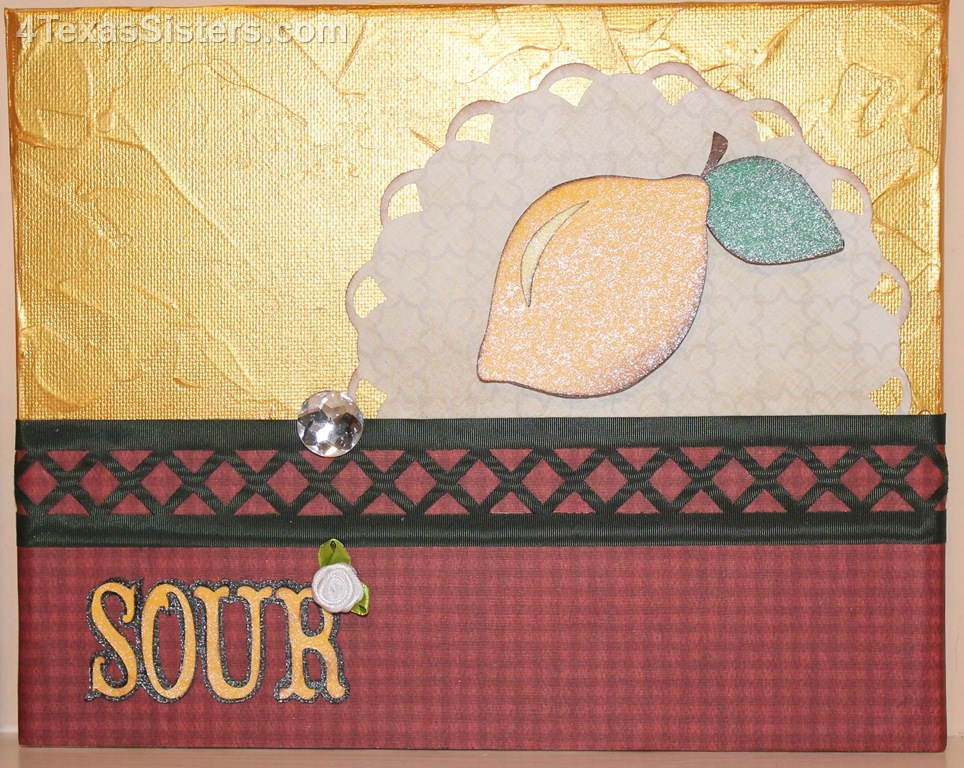
I rarely use sketches in my work, as I’m more of a free flowing, on the fly type, so this was a bit of a challenge for me to come up with something that would fit one of the sketches. In the end, I had been wanting to do a project with fruit for the kitchen/dining room, and this month’s Cricut Circle Magazine sketch by Susan Neal seemed perfect for such a project.
March 8
Here is Susan’s sketch:
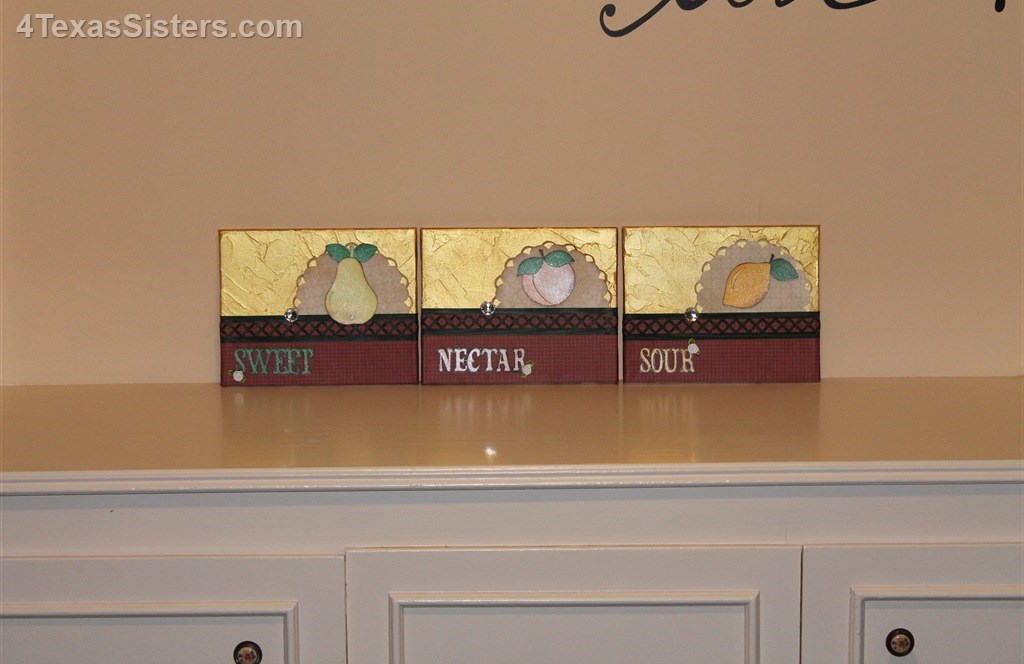
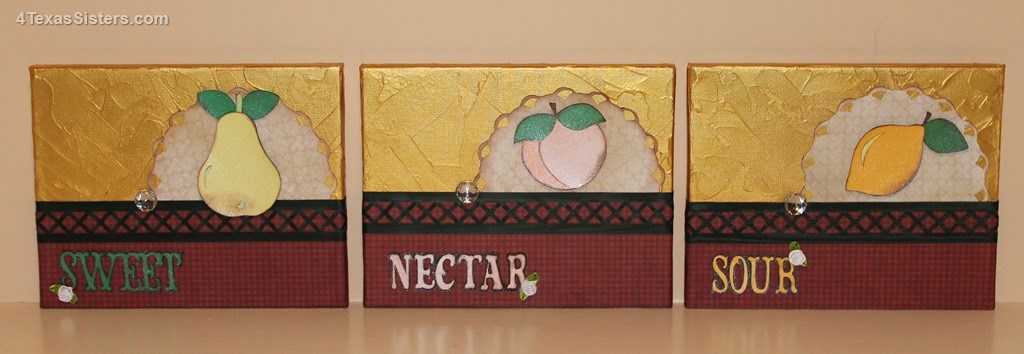
And, here’s my project using the sketch:
I wanted to do the projects on canvas, and I loved the idea of having the background look a bit like stucco,. In order to achieve this look, I used an artist’s knife and Liquitex Acrylic Color in Gold. I’ve never been a painter, but this was fun! It reminded me of finger painting, and though I did use an artist’s knife, I had enough on me to look like I’d been finger painting. I only painted the first 2/3 of the canvas, as that was all that was going to show. I let them dry overnight to assure they were completely dry.
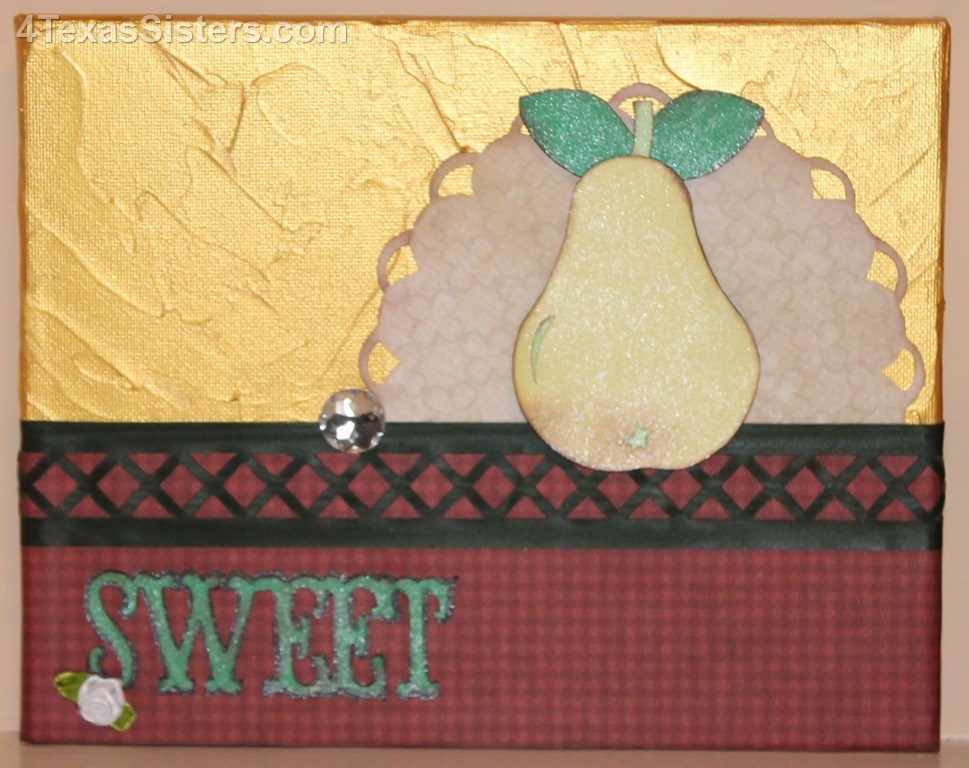
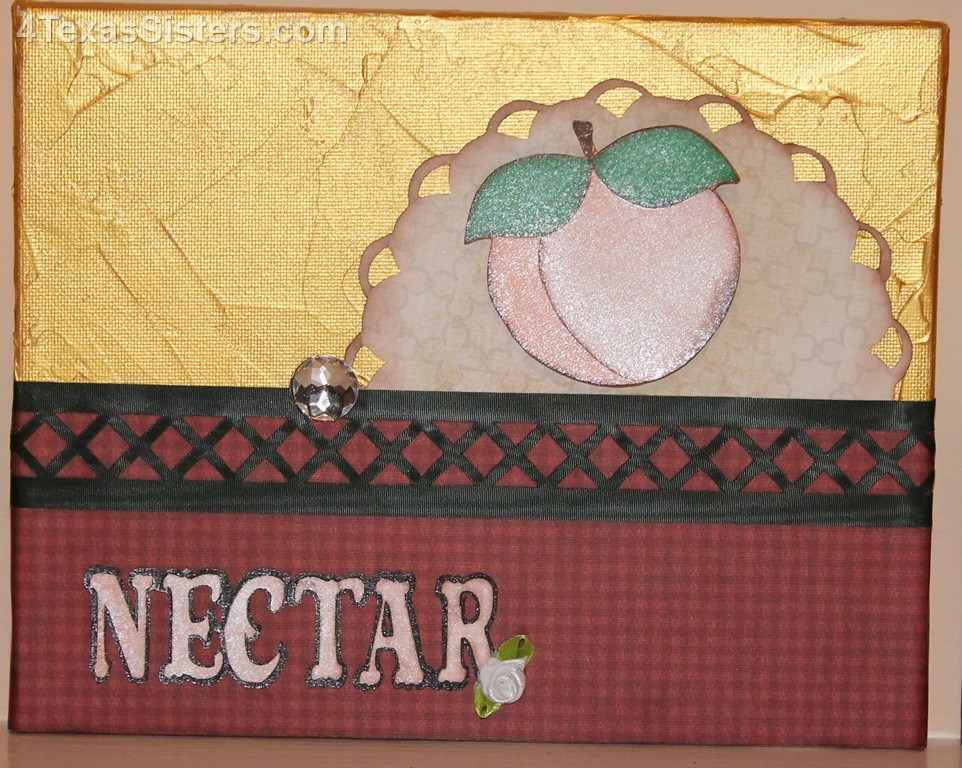
The fruits were taken from two different Cricut cartridges: the lemon and peach are from the Savory cartridge, while the pear can be found on the Cricut Just Because Cards cartridge. I took the words (nectar, sweet, sour) off the fruit from the Savory cartridge, and applied them as a separate entity. That allowed me to create the sentiments without using only the fruit on the Savory cartridge. However, each word had a piece of a letter missing as part of the original design. In order to overcome this obstacle, I placed a ribbon flower on each of the words where this occurred.
The fruits and sentiments was inked and shaded, then sprayed with Perfect Pearls Mist in Perfect Pearl. The doily behind each fruit is from the Cricut Elegant Edges cartridge. To add more dimension to the project, I used foam squares on each of the fruits. I added a dark green ribbon with an intricate design and a large rhinestone brad to complete the sketch.
I love all the texture and the richness of the colors of this project.
I hope you enjoy it.
Have a wonderfully crafty day!
Shari